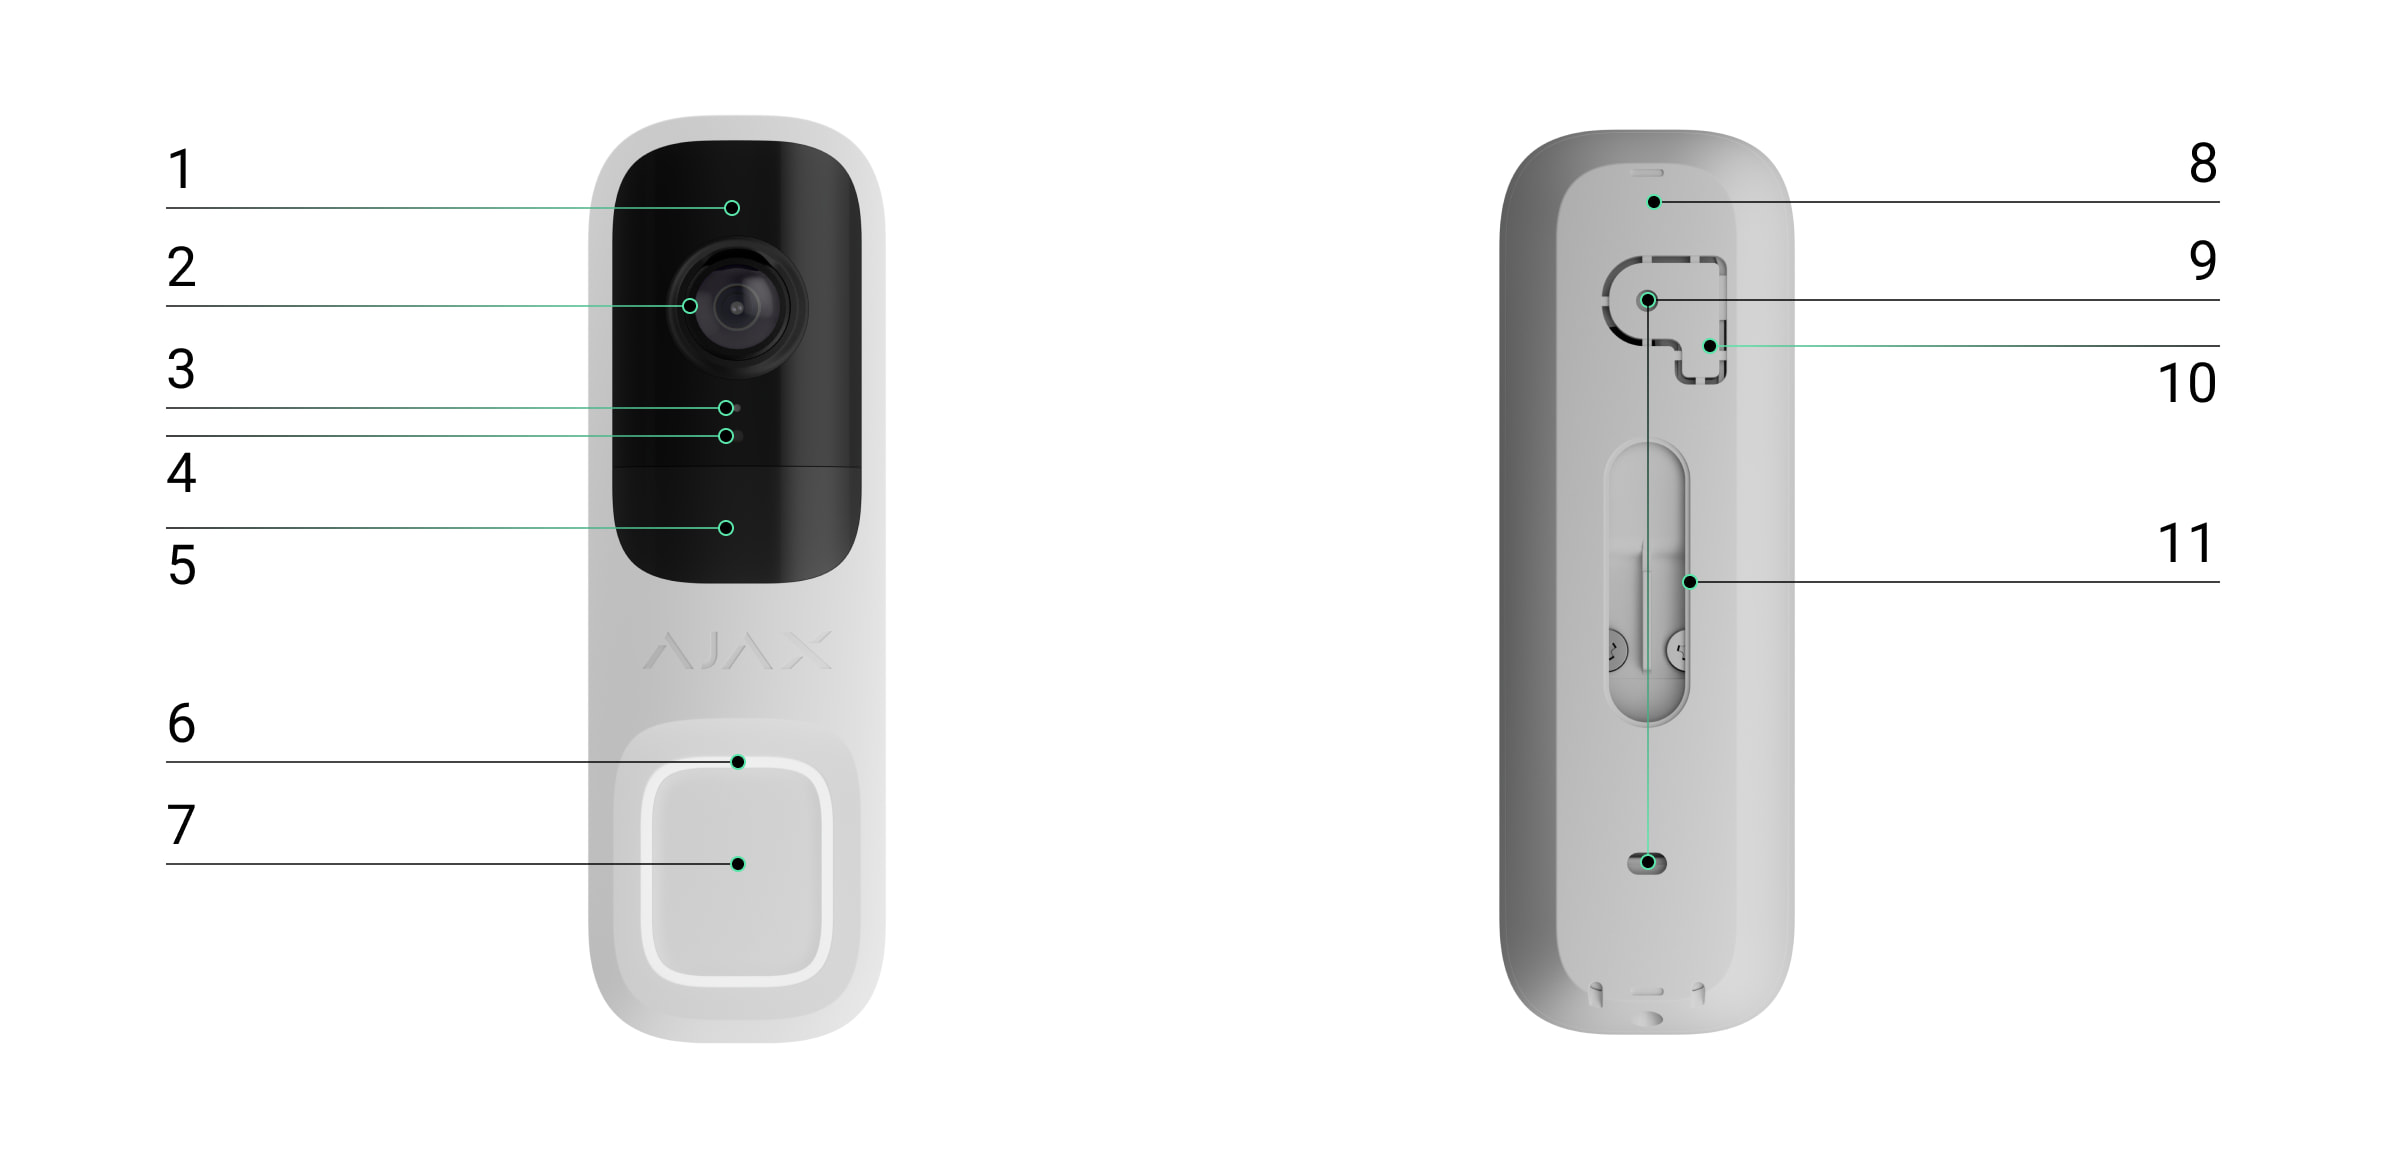
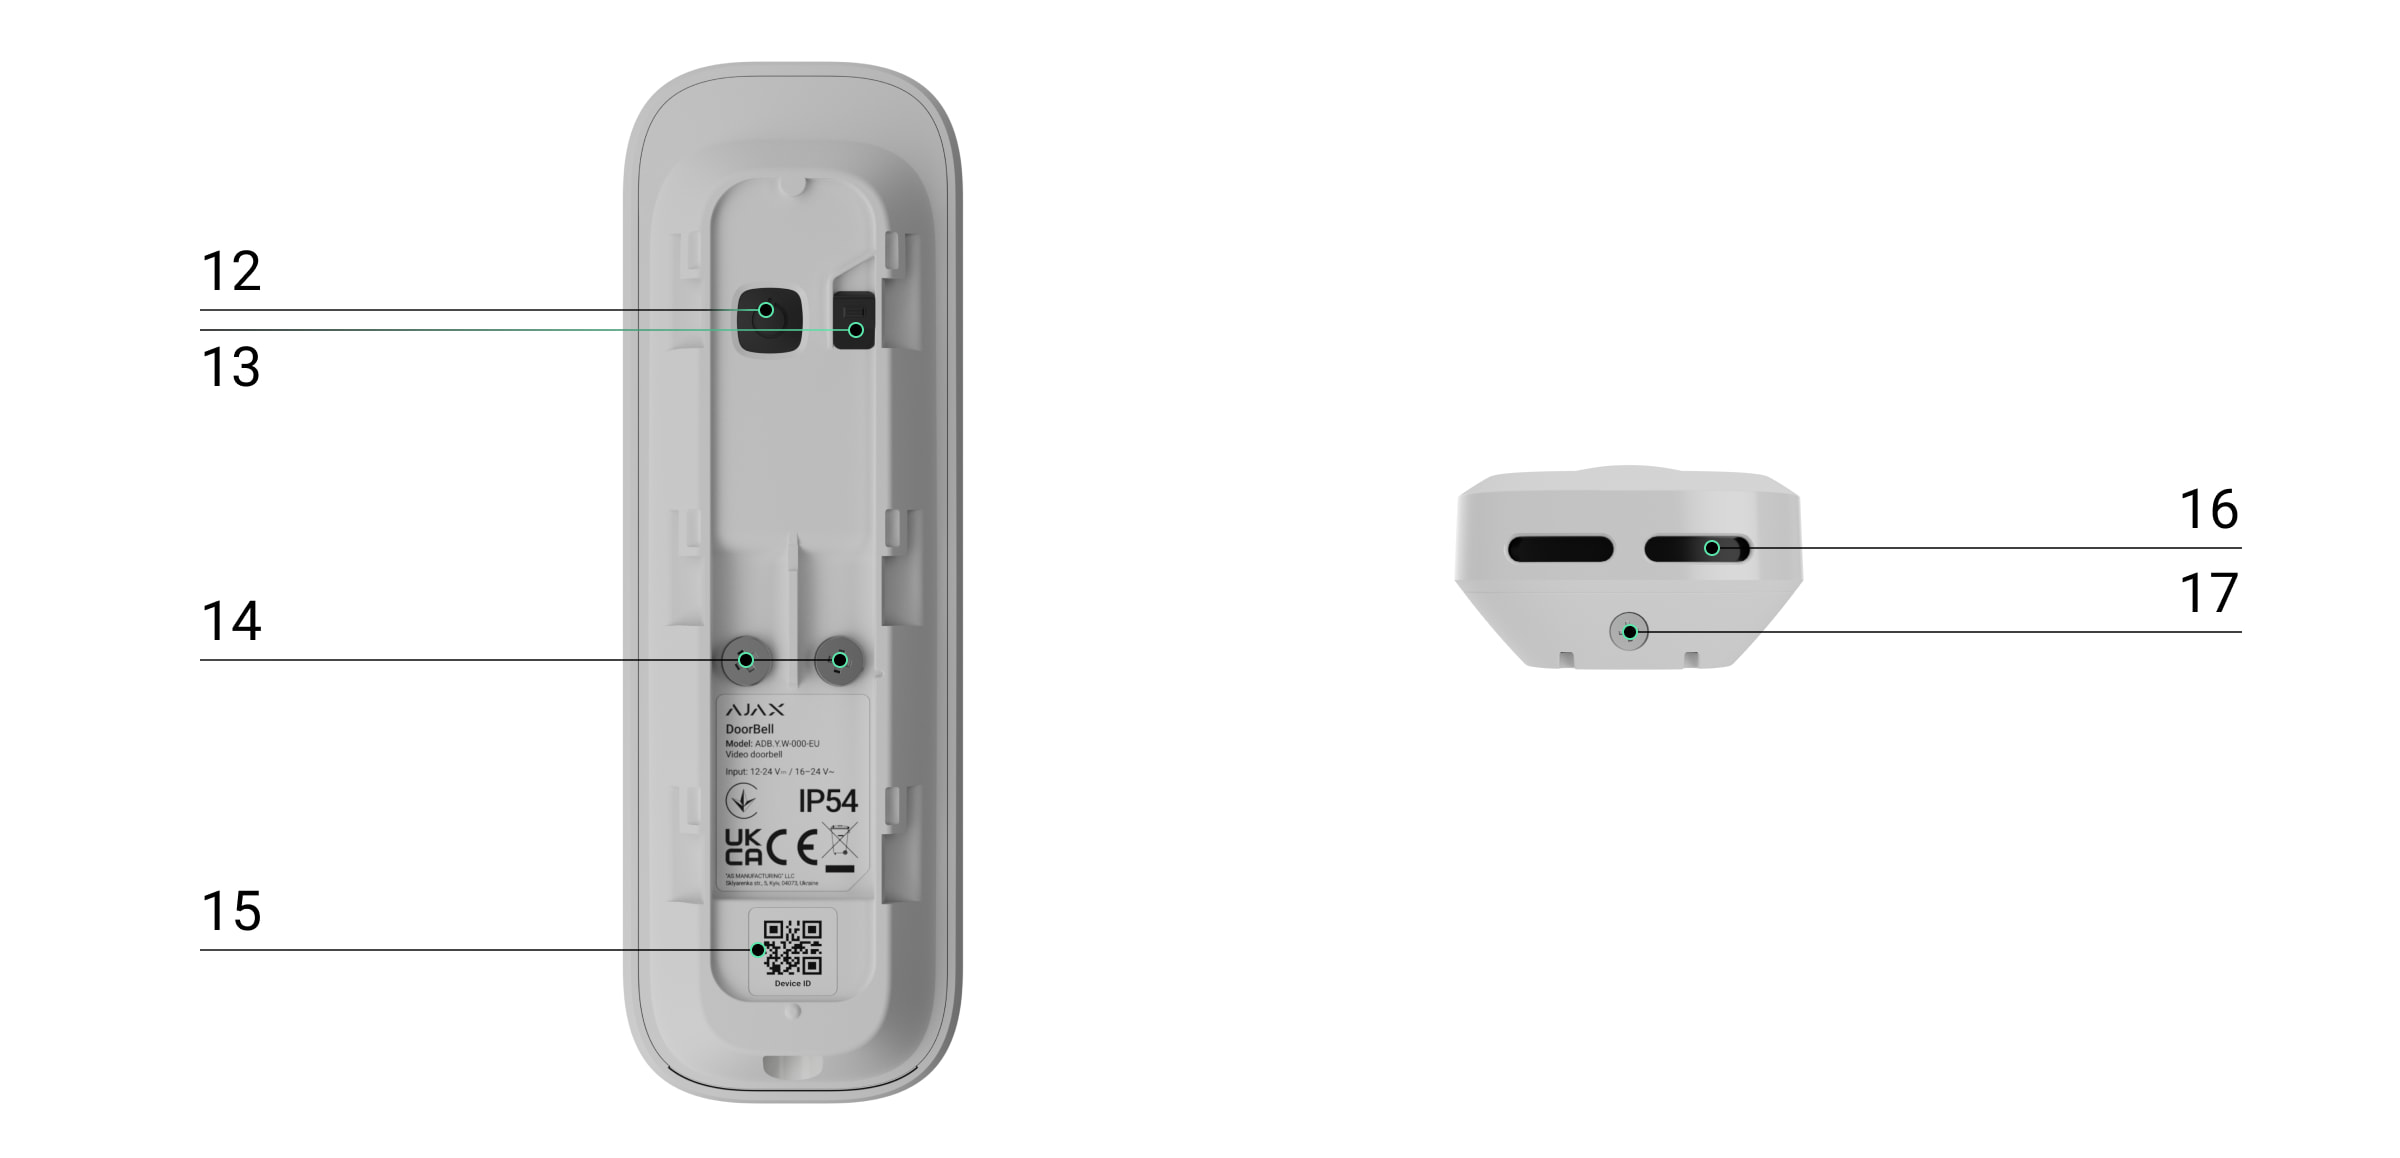
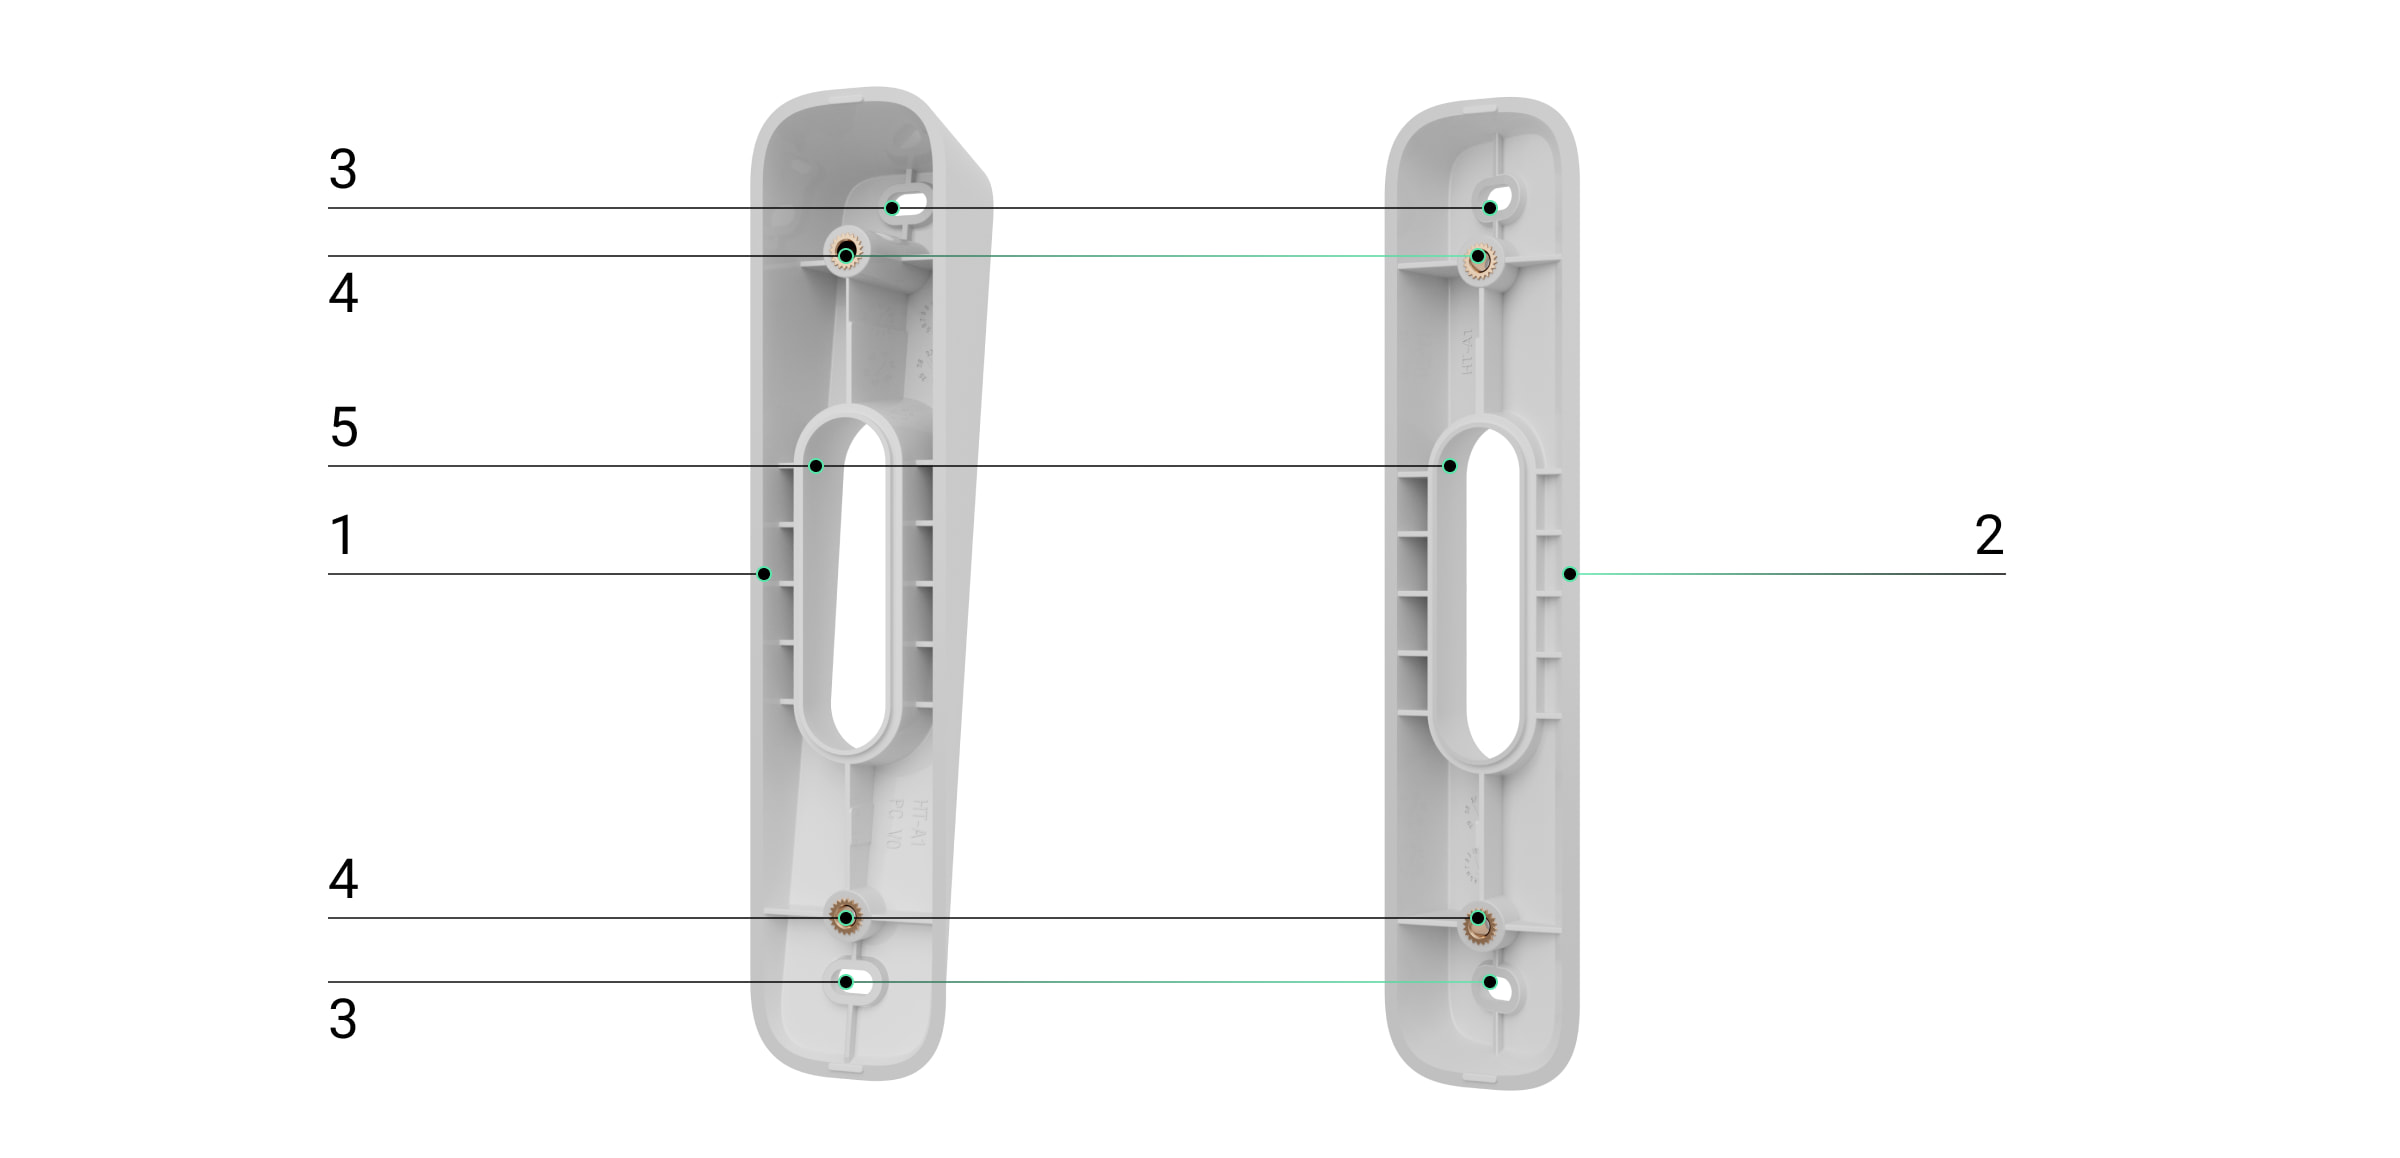
Functional Elements
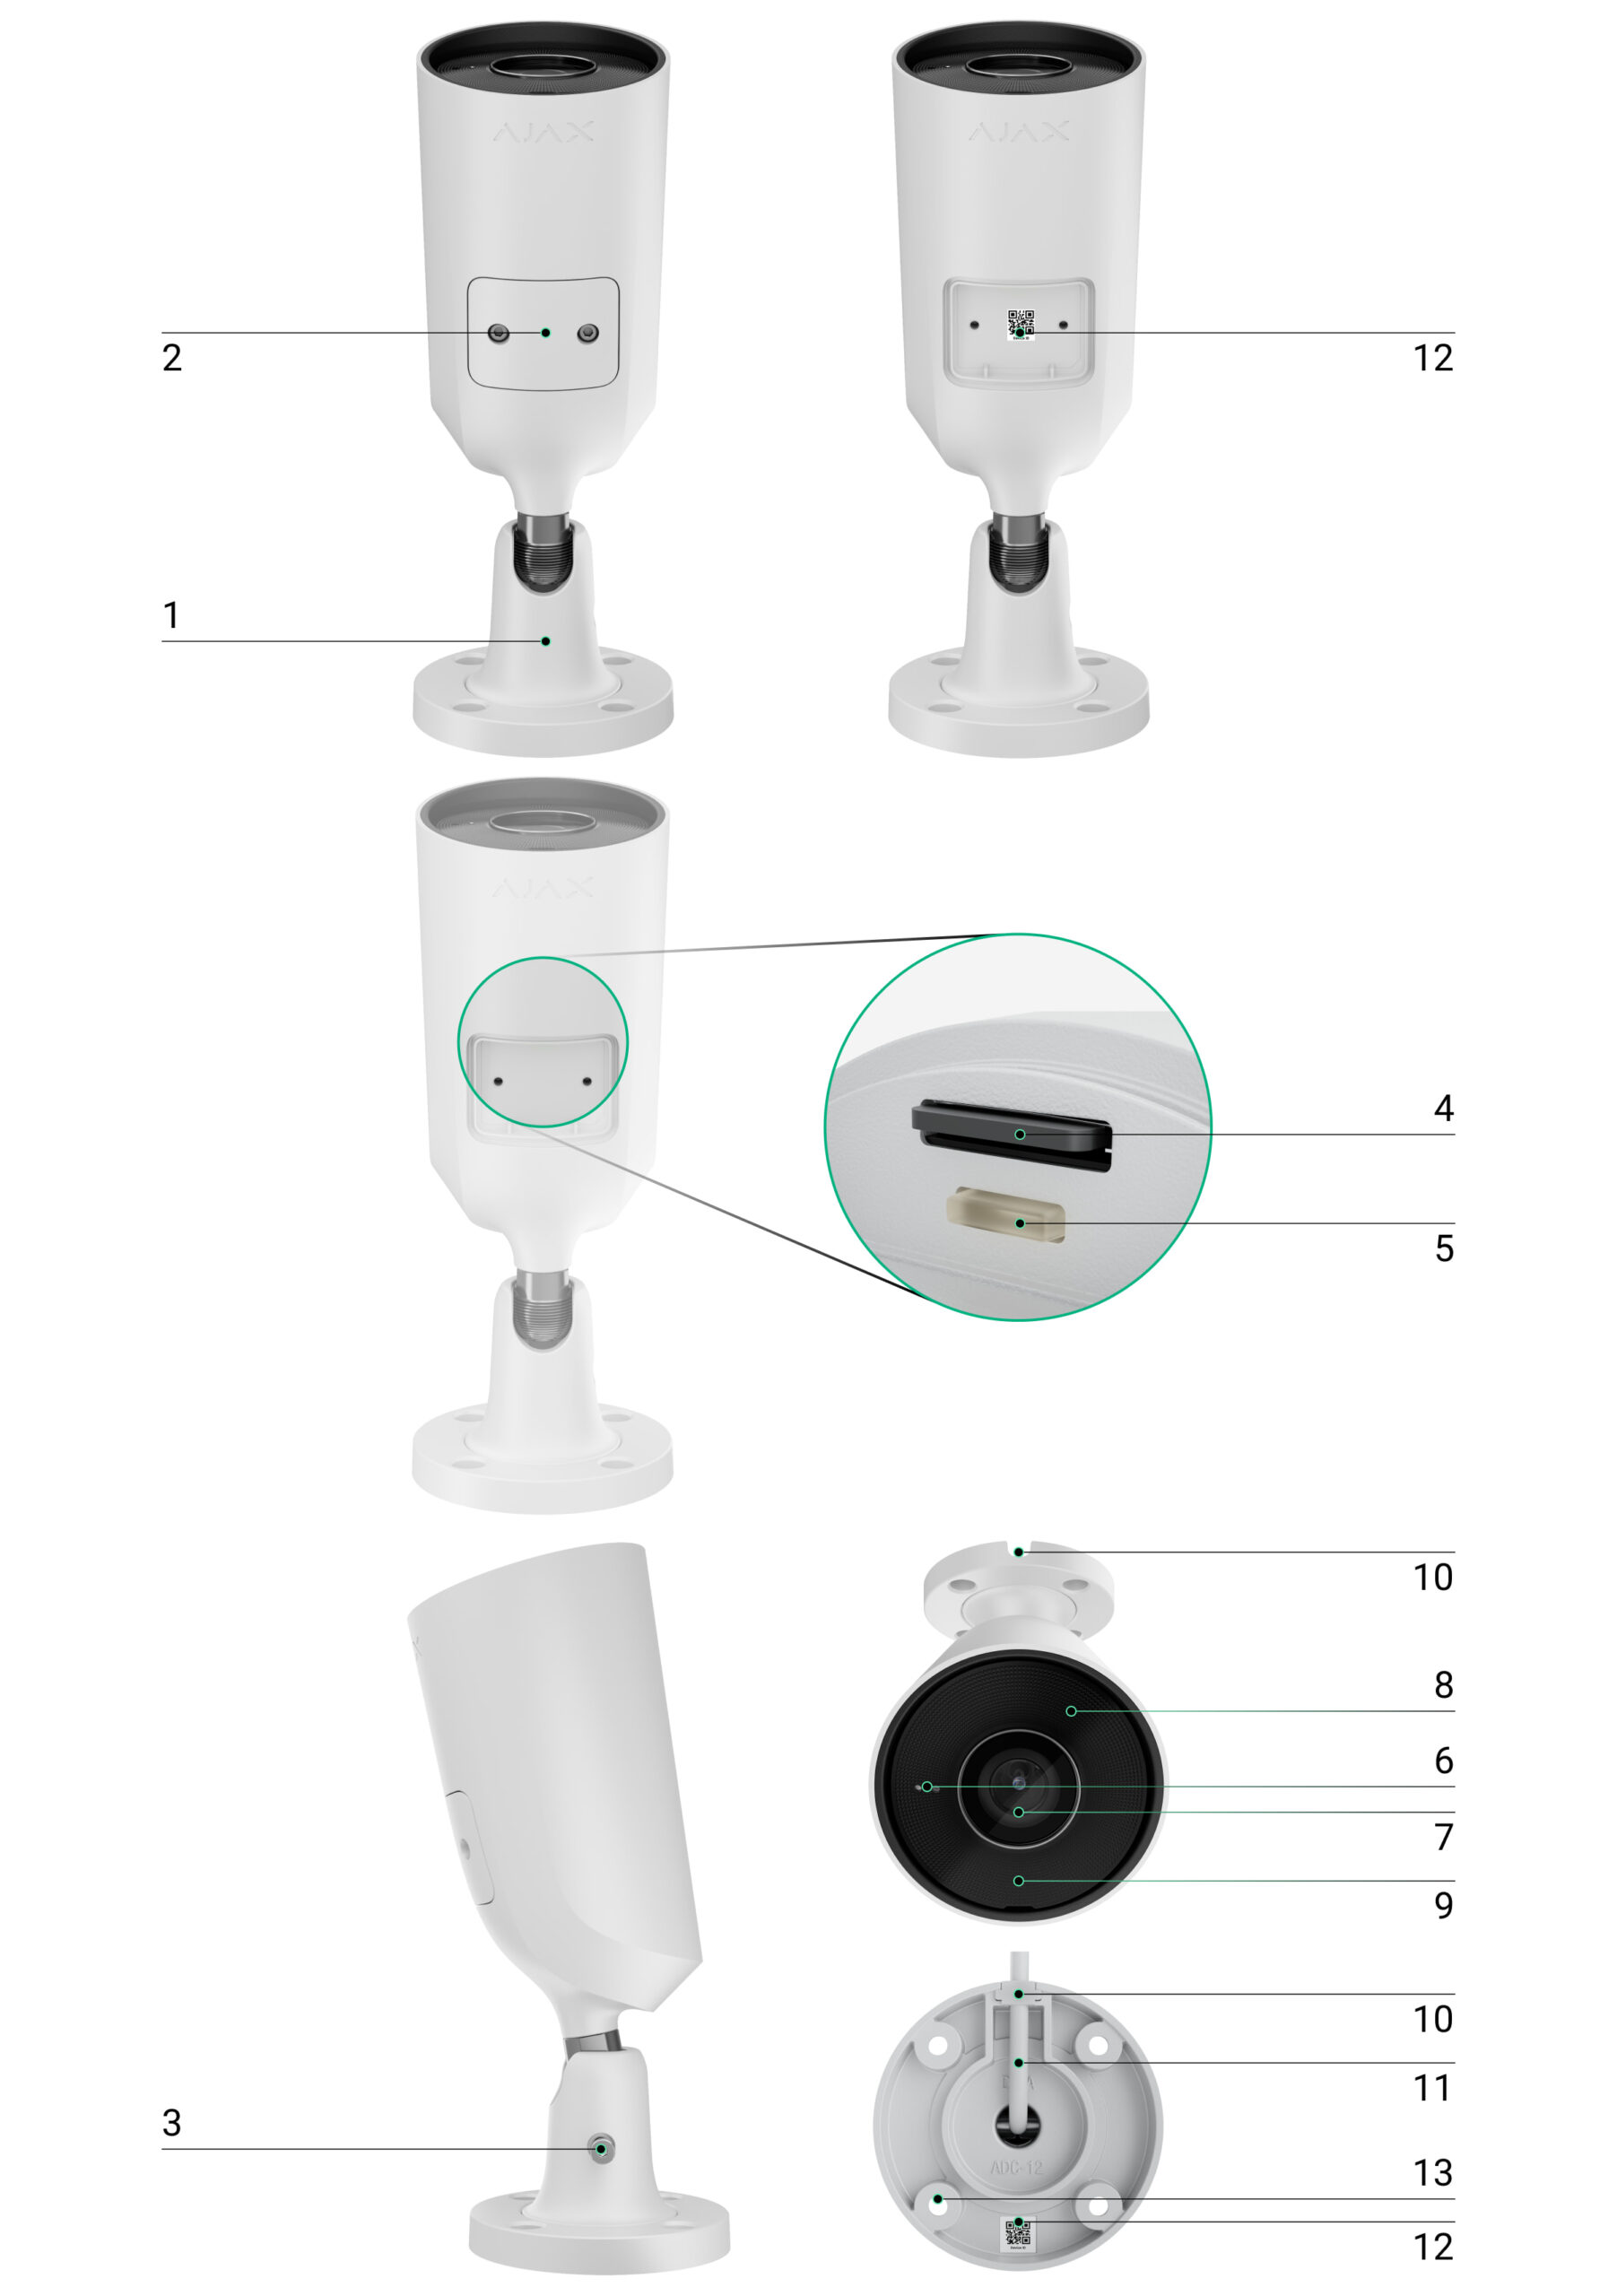
Swivel mounting bracket
Protective cover
Screw for securing the camera position
microSD card slot
Reset button
Microphone
Camera lens
Prismatic lens (covers the IR LED and diffuses the light)
IR illumination (for recording in the dark and in low light)
Cable channel for the connector output from the camera
Cable connector
QR code with device ID (for connecting the BulletCam to the Ajax system)
Mounting holes for attaching the camera to a surface
How It Works
BulletCam is an IP camera that uses artificial intelligence (AI) for object recognition. Its algorithms can identify moving objects and distinguish between people, animals, and vehicles.
The device is equipped with smart IR illumination, which ensures high-quality images even in low-light conditions. The camera automatically adjusts the lighting intensity in real time, preventing overexposure and allowing for a clear view of both near and distant objects.
IP65 protection rating—suitable for outdoor installation.
A durable metal housing protects against tampering.
microSD card: 32 GB to 256 GB (V30 or faster; not included).
Can also operate without a memory card when used with an NVR.
Using the video storage calculator, you can estimate the required storage capacity and recording time based on your video stream settings.
BulletCam features:
Real-time video viewing with zoom.
Access to archived video by timeline or calendar (via microSD or NVR).
Configuration of motion zones and sensitivity adjustment.
Video wall (combines images from all cameras).
Quick access to automation device control from the video player menu.
Video scenarios: a short video clip sent to the Ajax app when a security detector is triggered.
Downloading archive clips to a smartphone or computer (via microSD or NVR).
Videos with firmware version 2.309 or later are signed with an Ajax digital signature (the Ajax media player can be used for verification).
ONVIF integration
Supported by BulletCam firmware version 2.356 or later.
Compatible with VMS (Milestone, Genetec, Axxon, Digifort).
Setup can be performed by an administrator or a PRO user with the following permissions:
Ajax Security System (v. 3.25+),
Ajax PRO: Tool for Engineers (v. 2.25+),
Ajax PRO Desktop (v. 4.20+),
Ajax Desktop (v. 4.21+).
Video Scenarios
In the Ajax system, IP cameras can be used for alarm verification. Cameras can respond to alarms from a single detector, multiple detectors, or all detectors.You can configure the siren to activate when motion is detected or an object is recognized by AI.
Video Wall
Available on the Video Wall tab after at least one camera has been added.In the Ajax mobile apps, you can:
Switch between cameras;
Search for a camera by name;
Control a PTZ camera.
In Ajax PRO Desktop, you can:
Switch between cameras;
Search for a camera by name;
Organize cameras by room, NVR, or group;
Control a PTZ camera;
Save custom layouts;
Change the camera display order;
Create slideshow templates.
The system allowsyou to hide part of the frame. For example, if a safe is visible, you can set up a zone so that activity around it is recorded without revealing its contents. Motion and objects will not be detected in these zones.To configure this in the Ajax app:
Open the Devices tab.
Select a camera (or NVR → Cameras).
Go to Settings (by tapping the gear icon twice).
Select the Privacy Zones menu.
Open Configure Privacy Zones and mark the desired area.
Tap the icon. Return to the camera settings.
The user can create up to four privacy zones.
Choosing a Location
When choosing the best location to install the BulletCam, consider the camera’s field of view and any potential obstacles that could block the view.
How to install an Ajax camera for better AI recognition
When designing a security system, follow the installation recommendations. Security systems may only be designed and installed by professionals. A list of recommended partners is available here.
The camera must not be installed:
indoors or outdoors where the temperature and humidity do not meet the specified operating parameters;
in locations where objects or structures obstruct the camera’s field of view;
in direct bright light or facing bright objects (such as a white wall), as this reduces image quality. A bright surface reflects IR lighting and can blind the camera in the dark.
Installation
Connect the Ethernet cable to the camera. If the camera is powered via PoE, an external power supply is not required; otherwise, connect both the external power supply and the Ethernet cable.
Turn on the camera’s power supply. The LED indicator on the cable connector will light up green.
Connect the camera to the system, and then disconnect the Ethernet and power cables from the camera.
Using the included hex key (Ø 2 mm), unscrew the screws securing the protective cover. Insert a microSD card (not included) into the appropriate slot. Replace the protective cover and tighten the screws.
After connecting the BulletCam to the system, format the memory card in the camera settings.
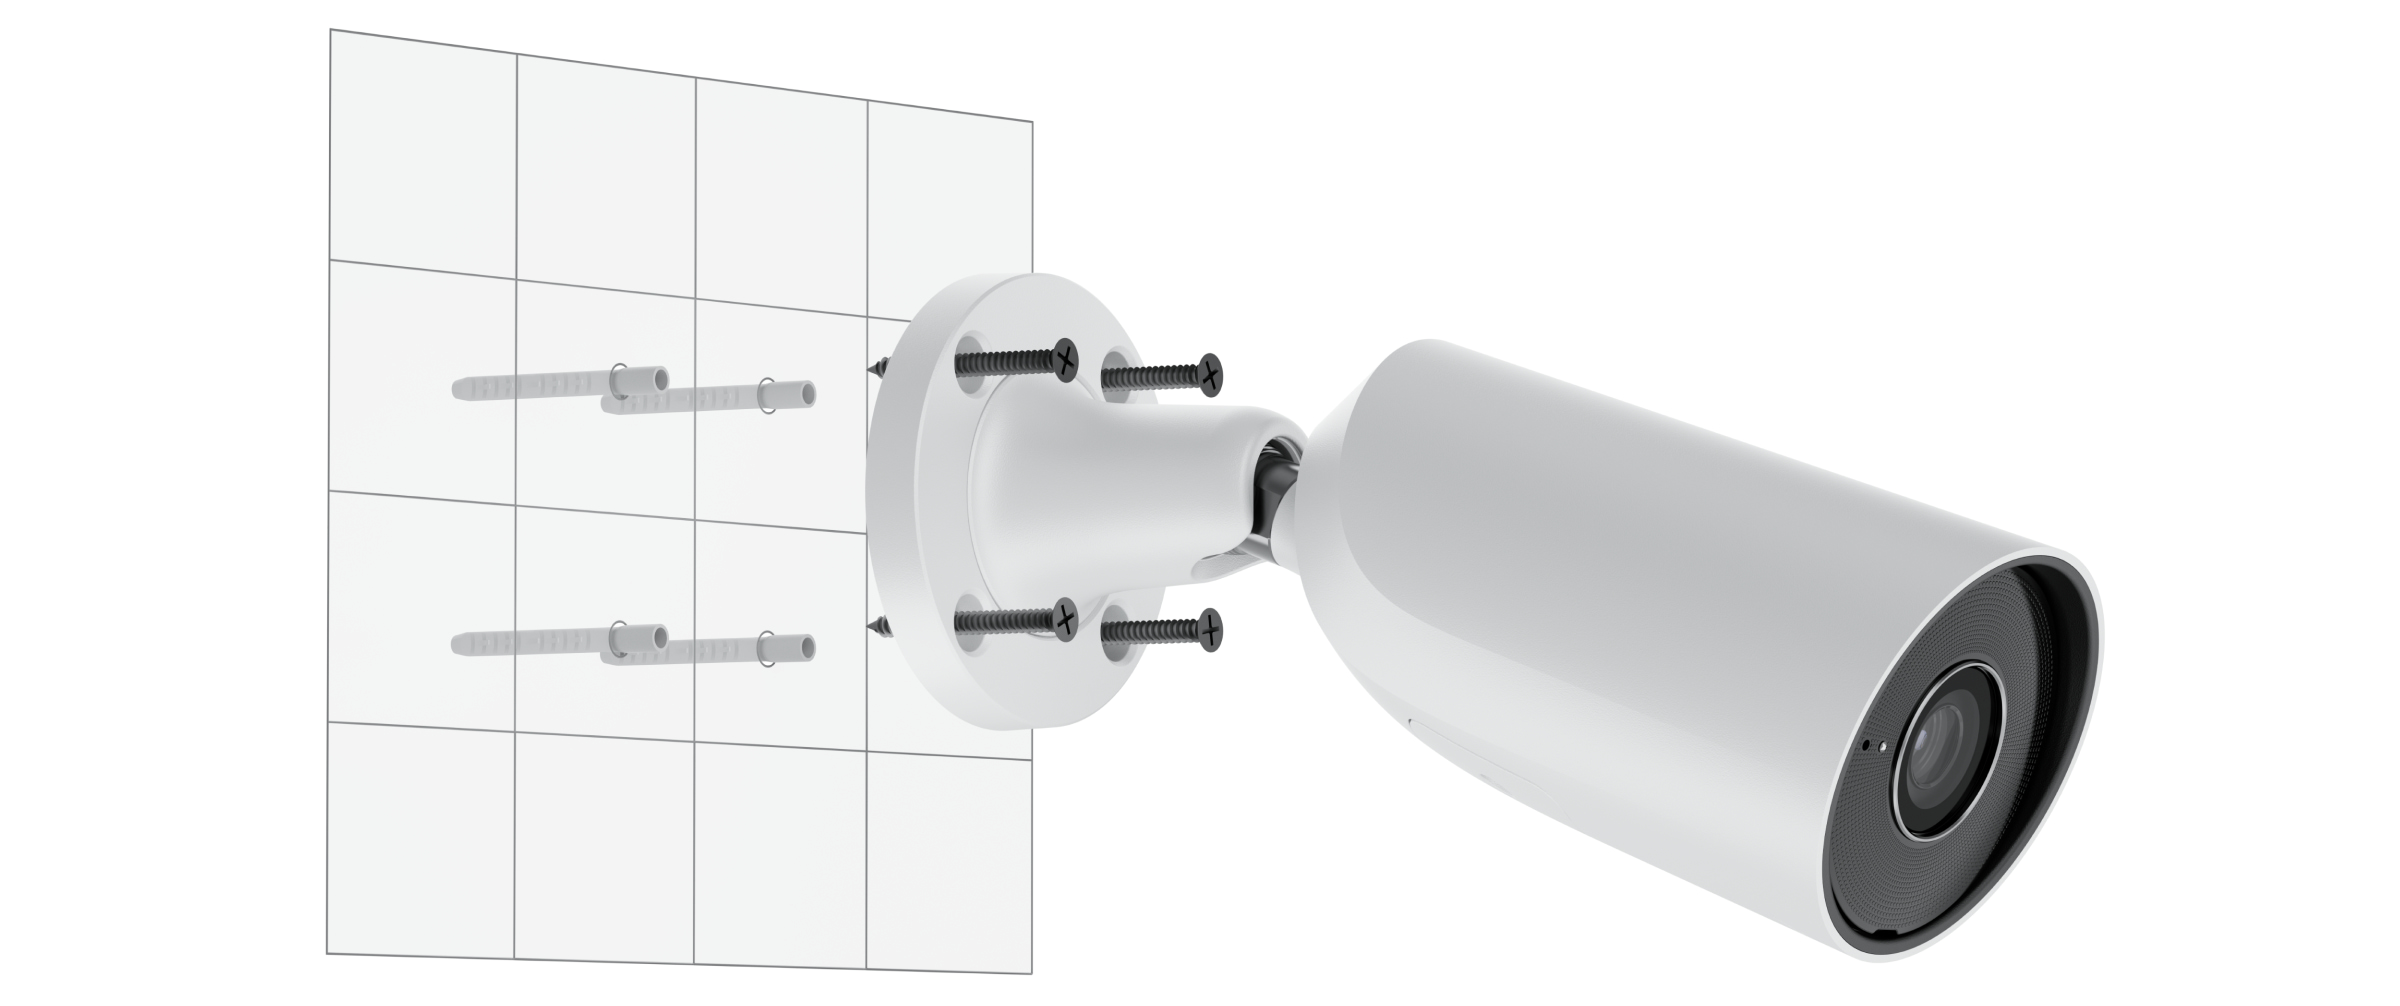
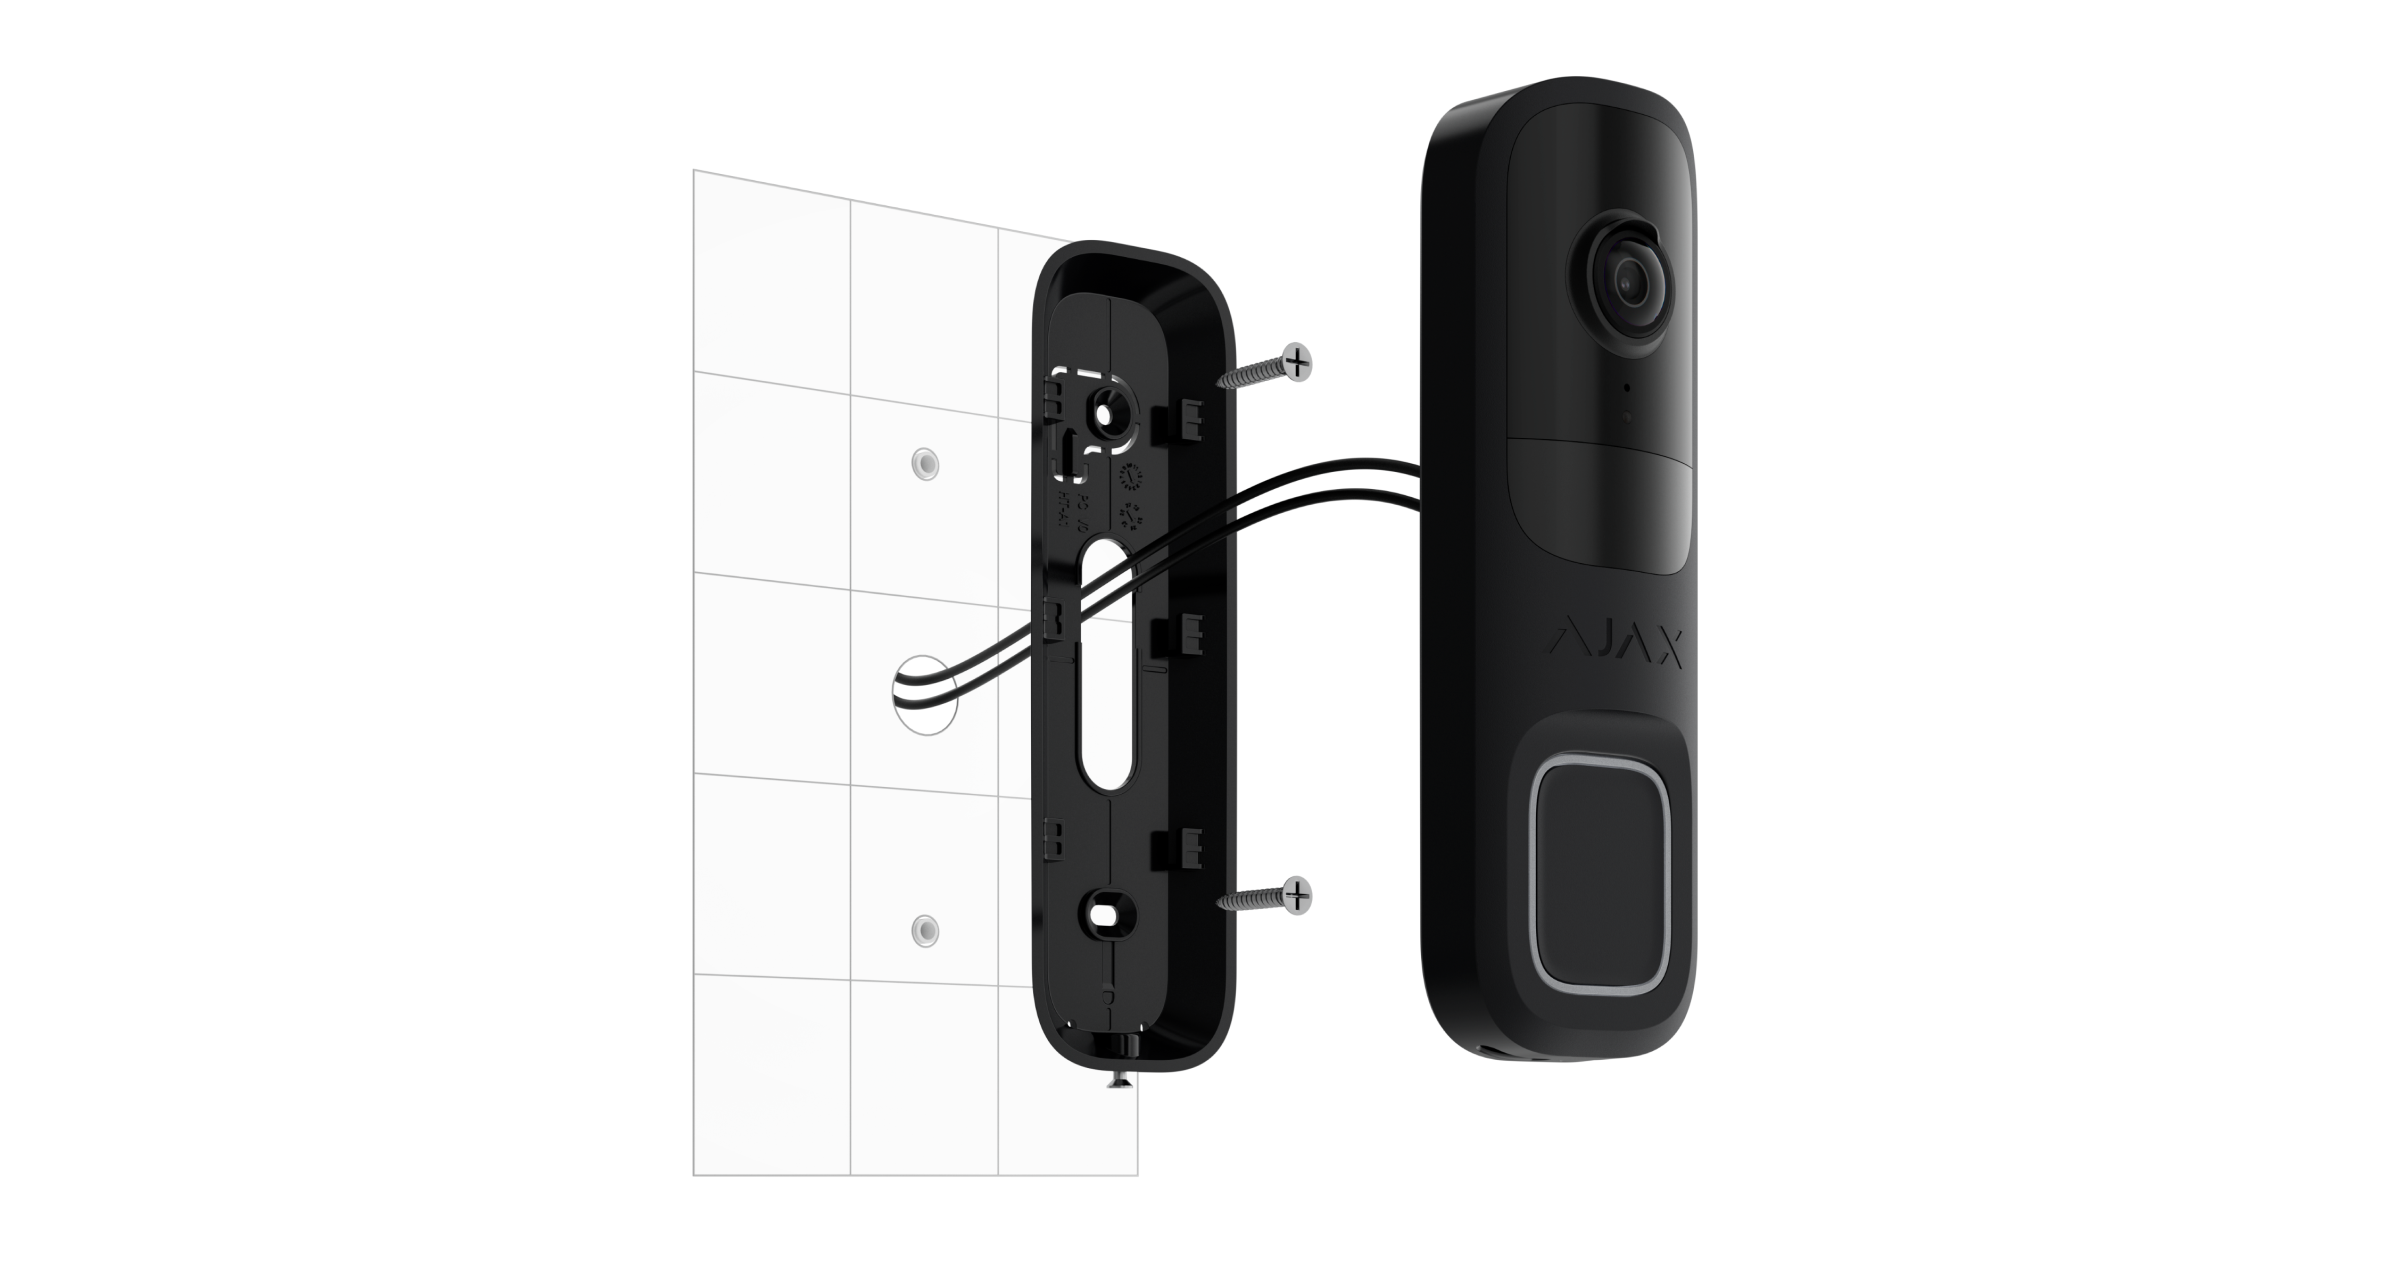
Using the mounting template, mark the drill holes on the surface where you plan to mount the camera. Secure the template in the selected location with adhesive tape and drill four holes as indicated on the template.
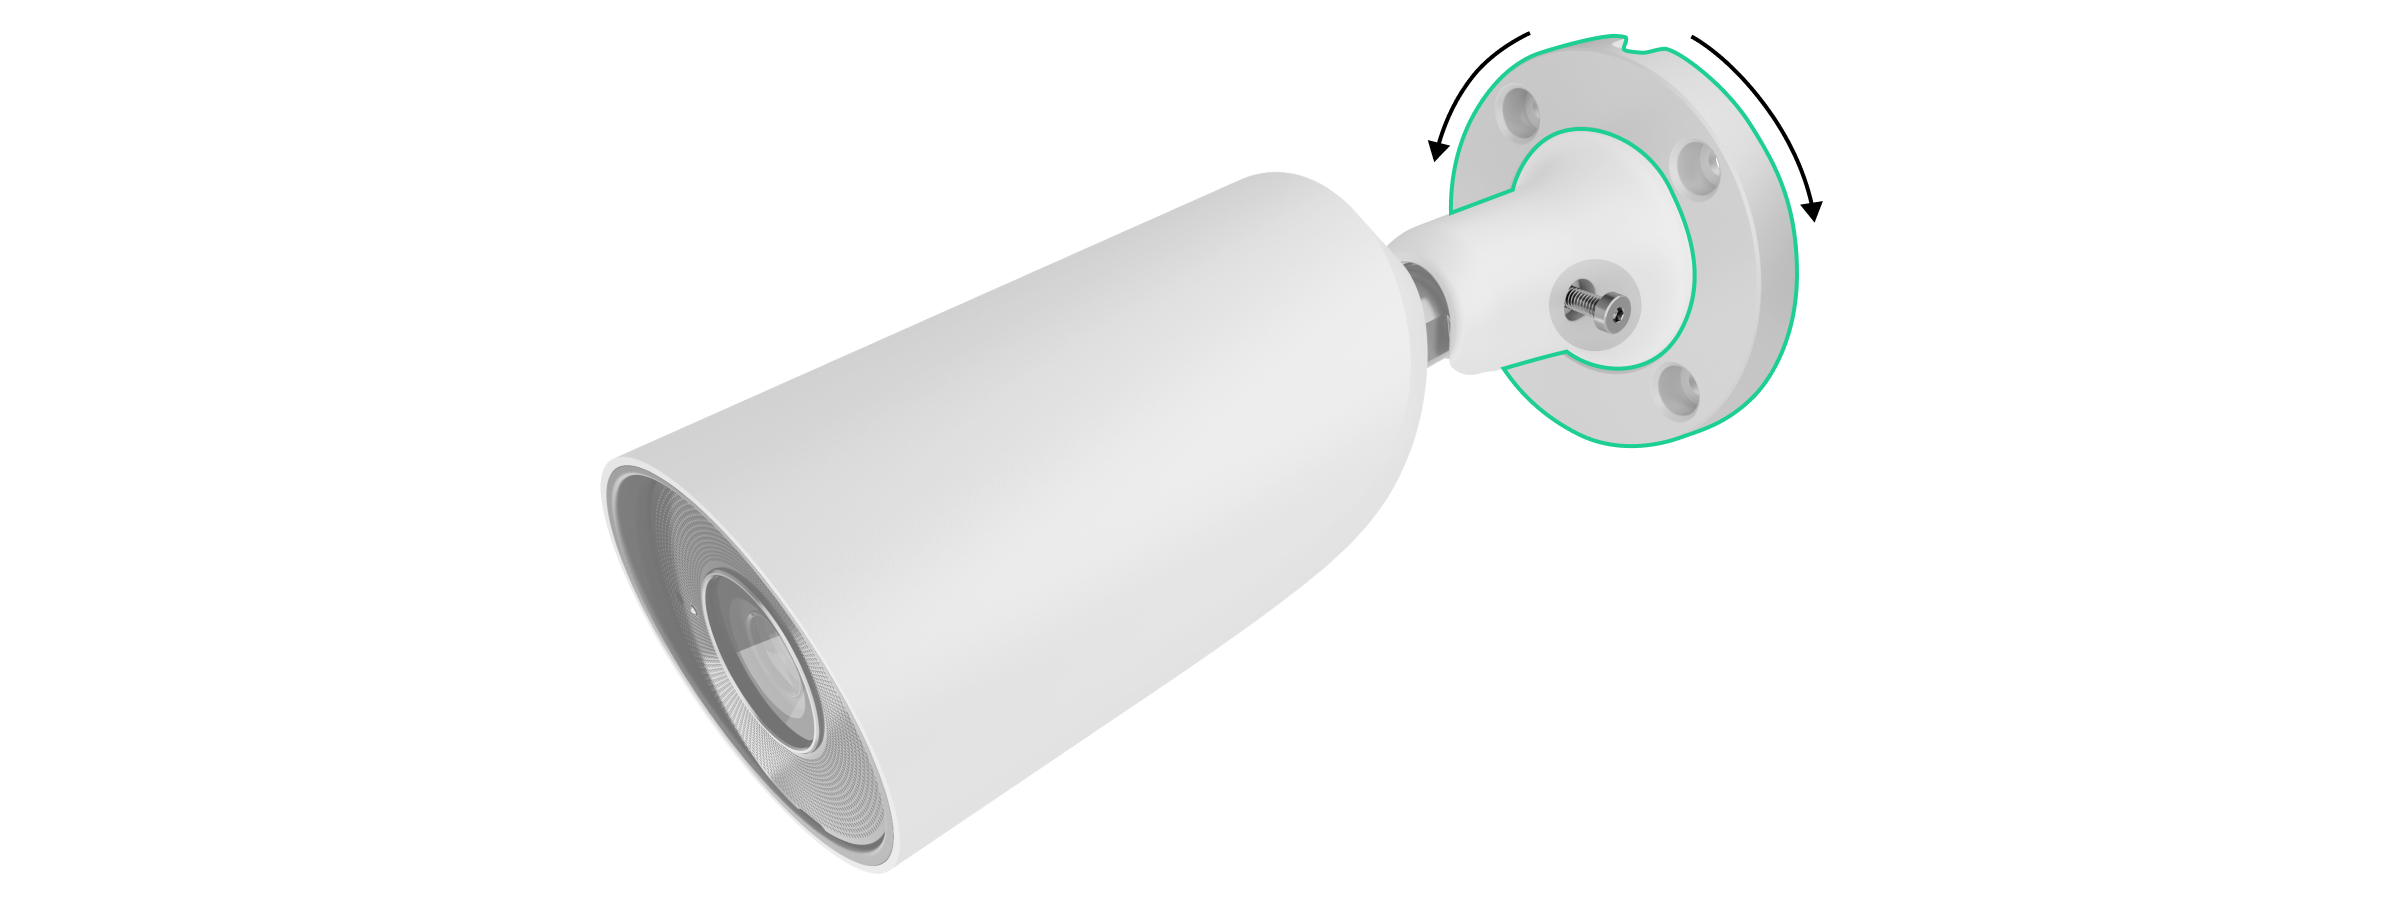
Unscrew the screw on the swivel mounting bracket using the included hex key (Ø 2 mm) and rotate the bracket if you need to adjust the position of the cable channel. Screw the screw back in.
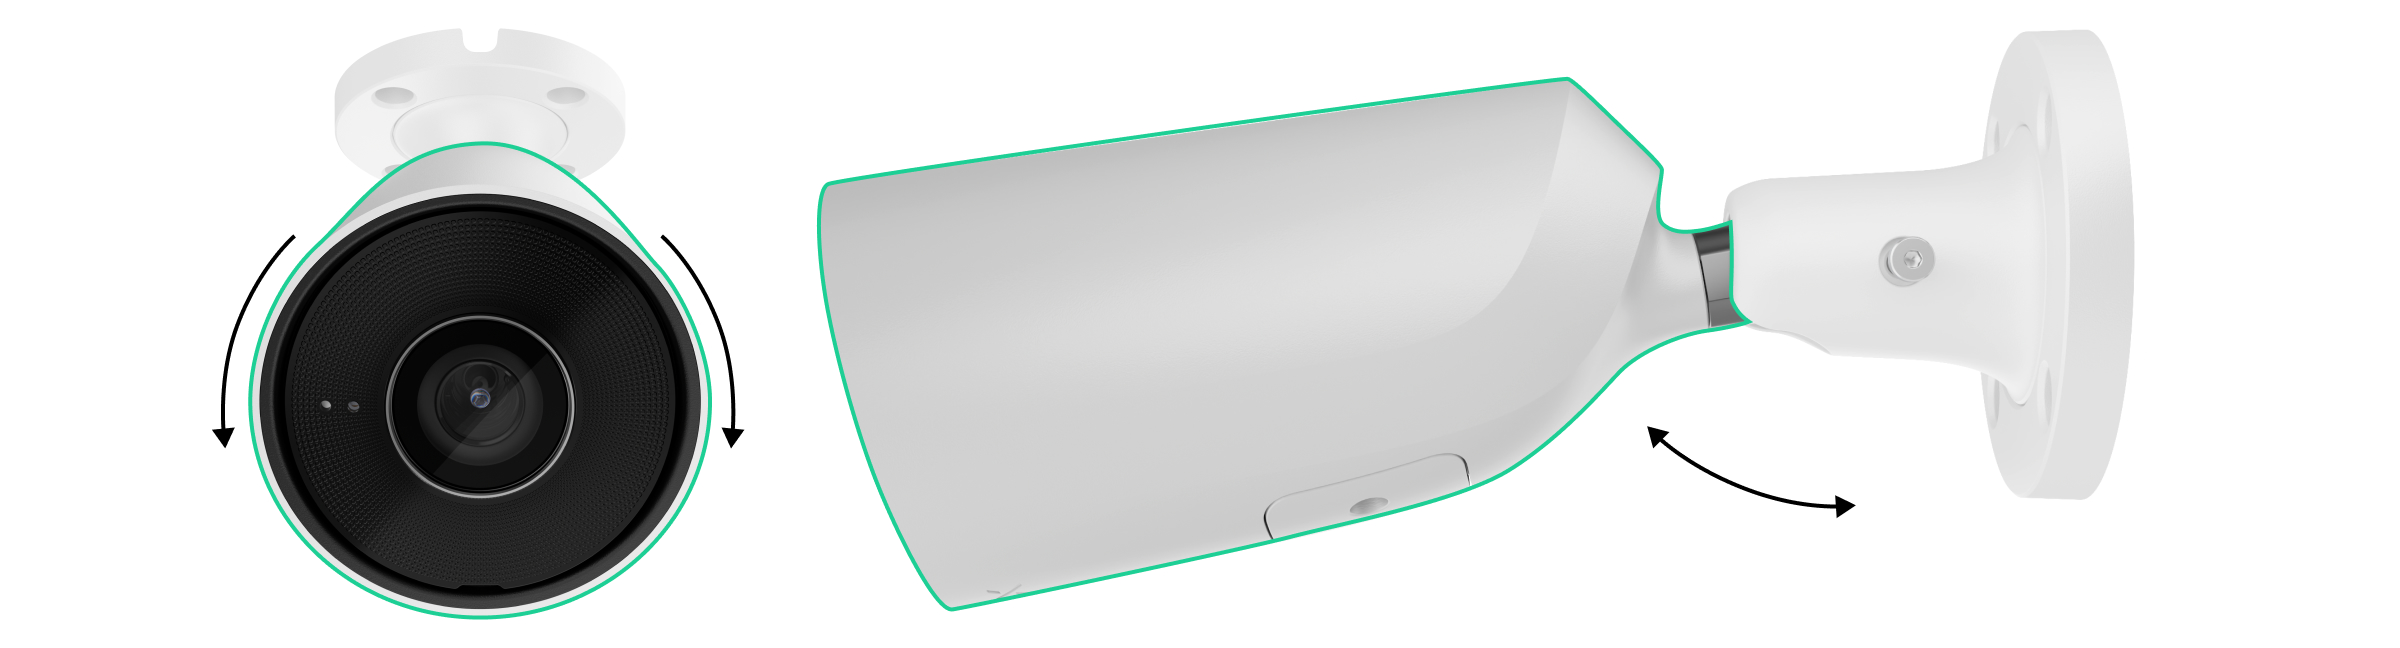
- Unscrew the screw on the swivel mounting bracket to adjust the camera's tilt and rotation.
Make sure the camera lens is pointed toward the area to be monitored. Secure it by tightening the screw on the swivel mounting bracket.
Connect the Ethernet and power cables to the camera. Install a waterproof connector if the camera is used indoors where humidity levels exceed the operating specifications, or outdoors.
Recommended power supply specifications: 12 V⎓ ± 20% with a current of at least 1 A.
Turn on the camera’s power supply. The LED indicator on the cable connector will light up green.
Connecting to the System
Before connecting the device:
Install the Ajax app.
Sign in to your account or create a new one.
Select a room or create a new one.
Add at least one virtual room.
Make sure the room is disarmed.
Only a PRO user or a room administrator with system configuration rights can add a device to a room.
Account Types and Their Permissions
How to Add a BulletCam
Restore to Factory Settings
To reset the camera to its factory settings:
Turn off the camera by disconnecting the external power source or the Ethernet cable (if power is supplied via PoE).
Press and hold the reset button.
Connect the camera to a power source while holding down the reset button, and wait until the LED indicator on the button lights up purple. This will take about 50 seconds.
The LED indicator lights up blue for 20 seconds after the camera is turned on while the reset button is held down. It then turns off for 30 seconds and lights up purple. This means the camera has been restored to its factory settings.
Release the button.
Icons
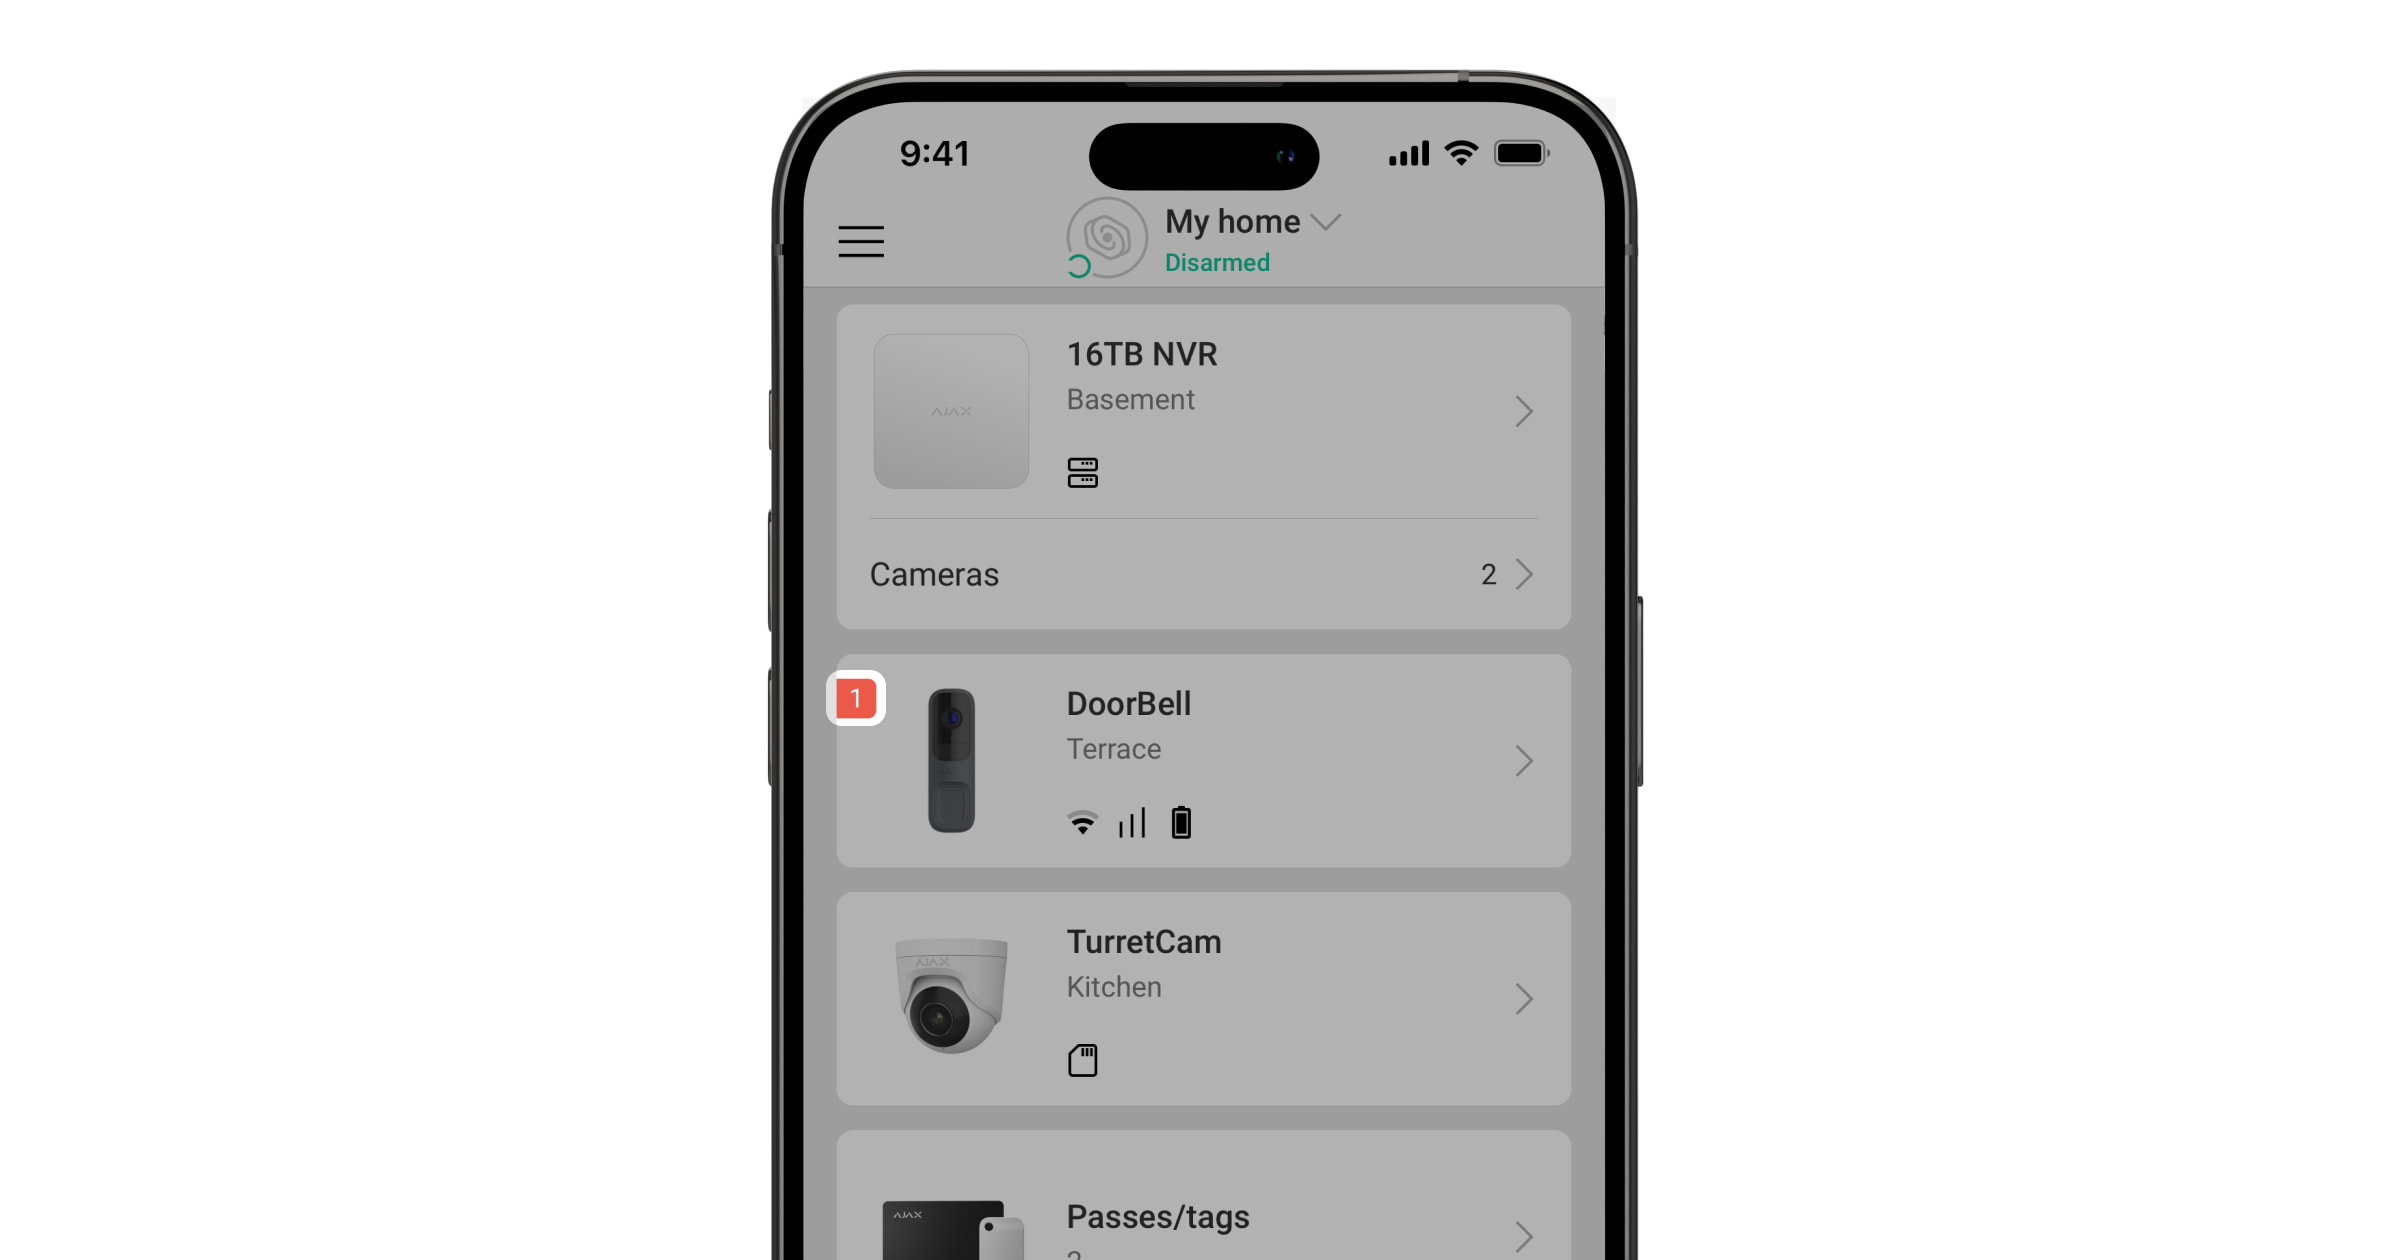
In the Ajax app, icons indicate the device's status. To view them:
Select a room in the Ajax app.
Open the Devices tab.
Find BulletCam in the list.
Icon — Meaning
Additional services have been activated in accordance with the subscription.
The device is operating in Night Mode.
No microSD card is installed.
The microSD card is installed.
A microSD card error has been detected—formatting is recommended.
The microSD card is being formatted.
A new firmware version is available.
Firmware update in progress: downloading/installing.
Firmware update error.
The device has lost its connection to the Ajax Cloud server.
Connection enabled via ONVIF.
You do not have access to the video.
Statuses
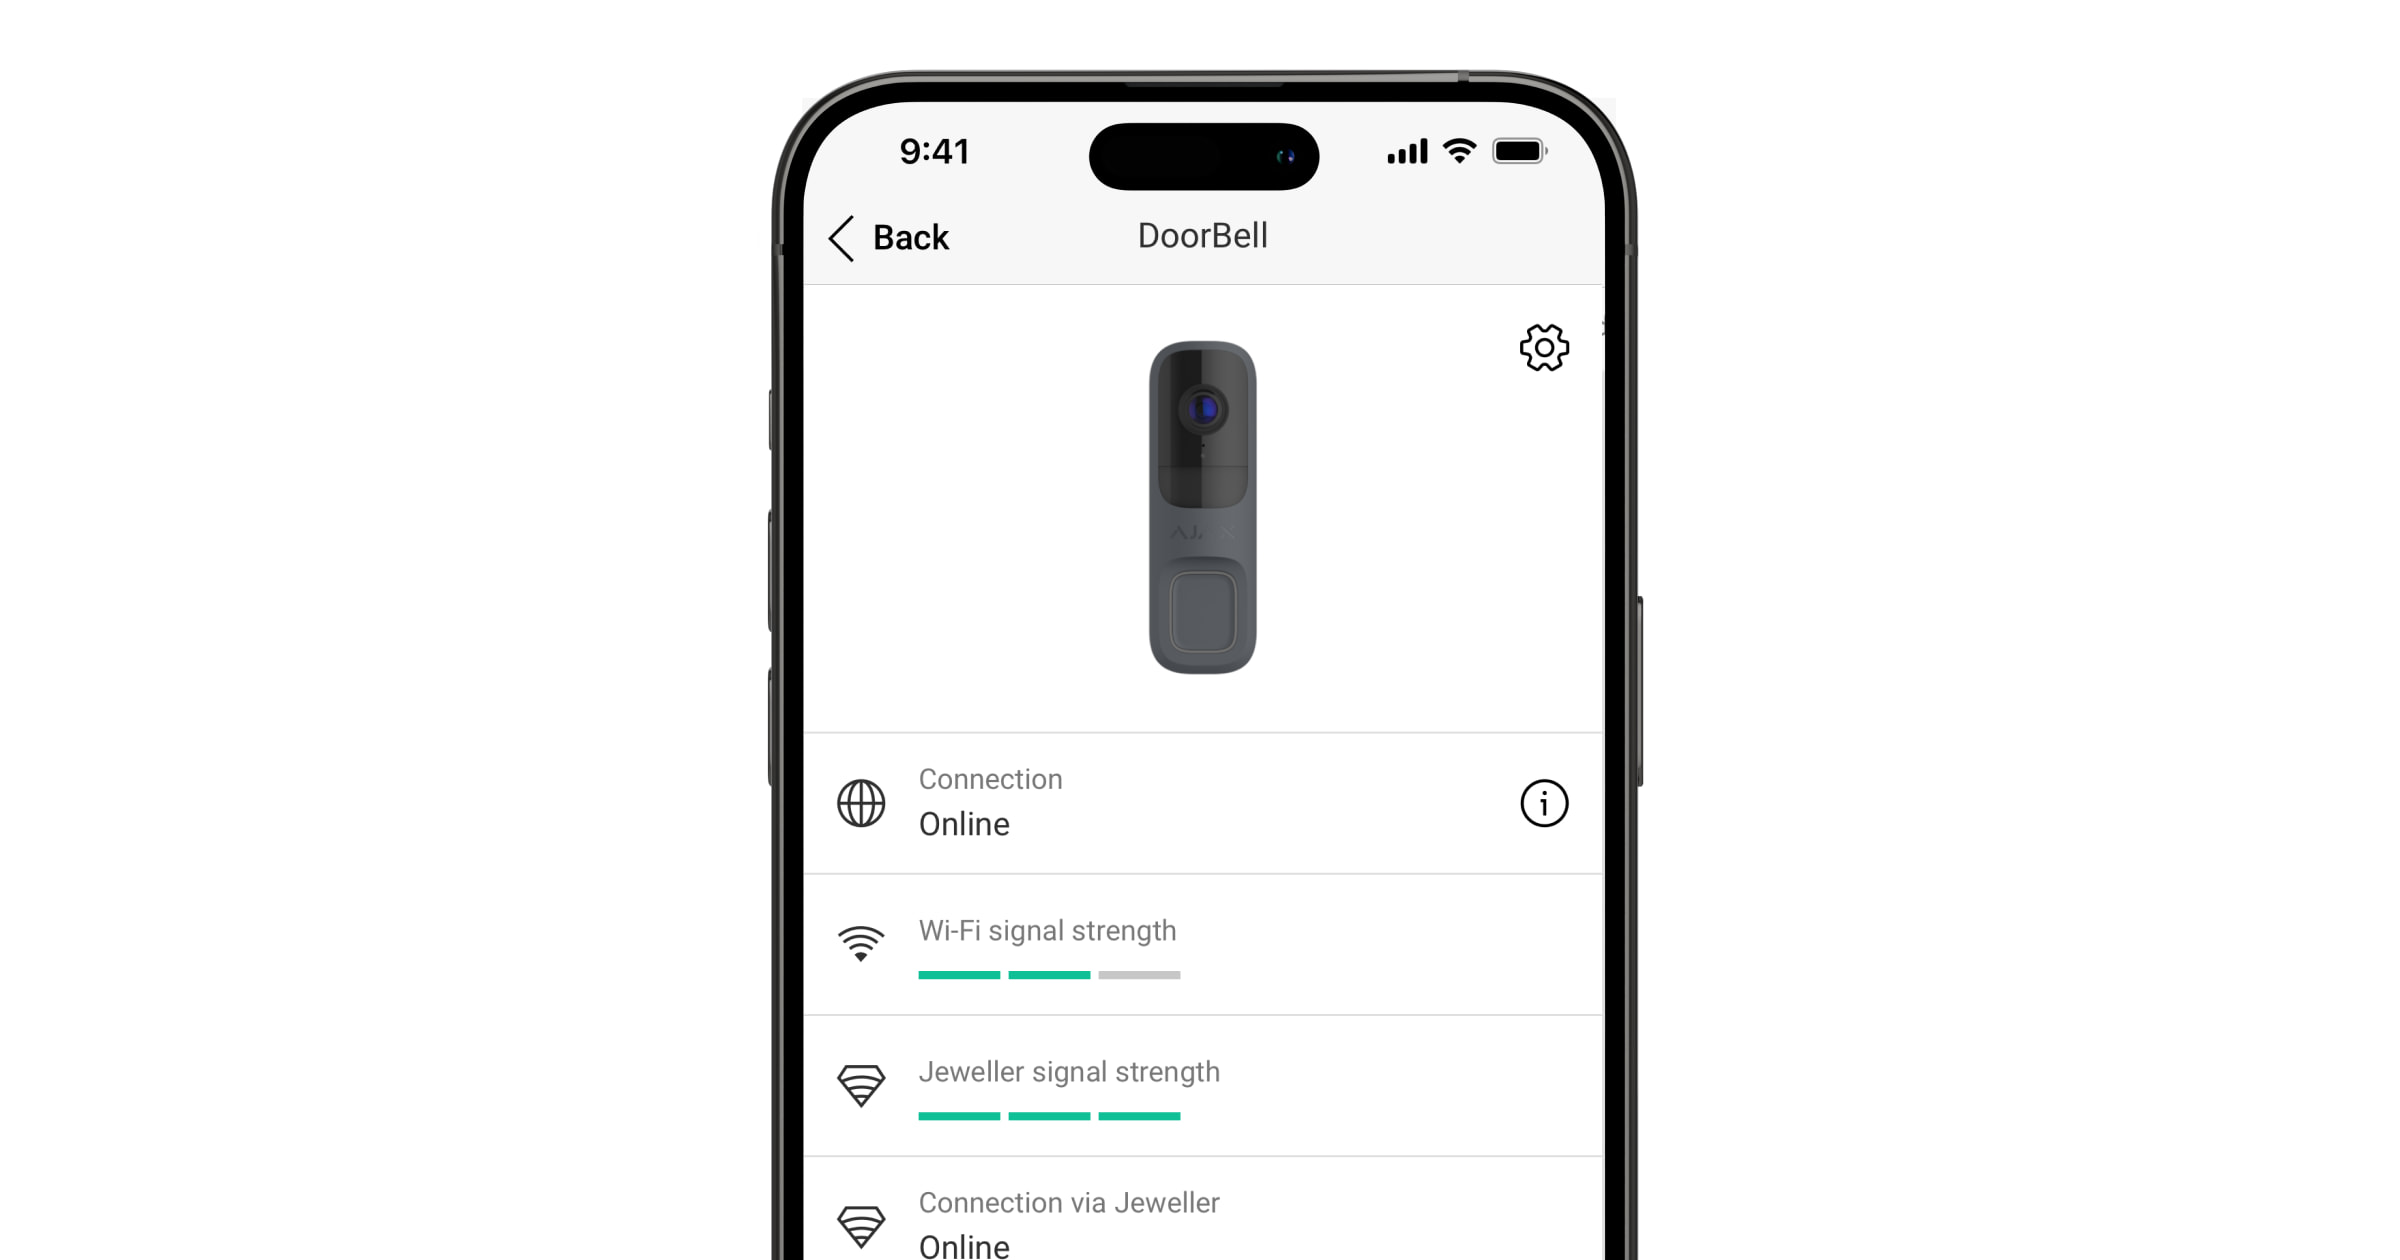
The status section provides information about the device and its operating parameters. You can view this information in the Ajax apps:
Select a room.
Open the Devices tab.
Select BulletCam from the list. If BulletCam is connected to a video recorder, select NVR and then Cameras.
(The following is a detailed list of parameters: Errors, Firmware Update, Connection, Connection to NVR, Memory Location, Memory Card, Resolution, Frame Rate, Bit Rate, Video Codec, Motion Detection, Object Detection, Uptime, ONVIF Integration, Viewing Permissions, Firmware, ID, etc.)
Settings
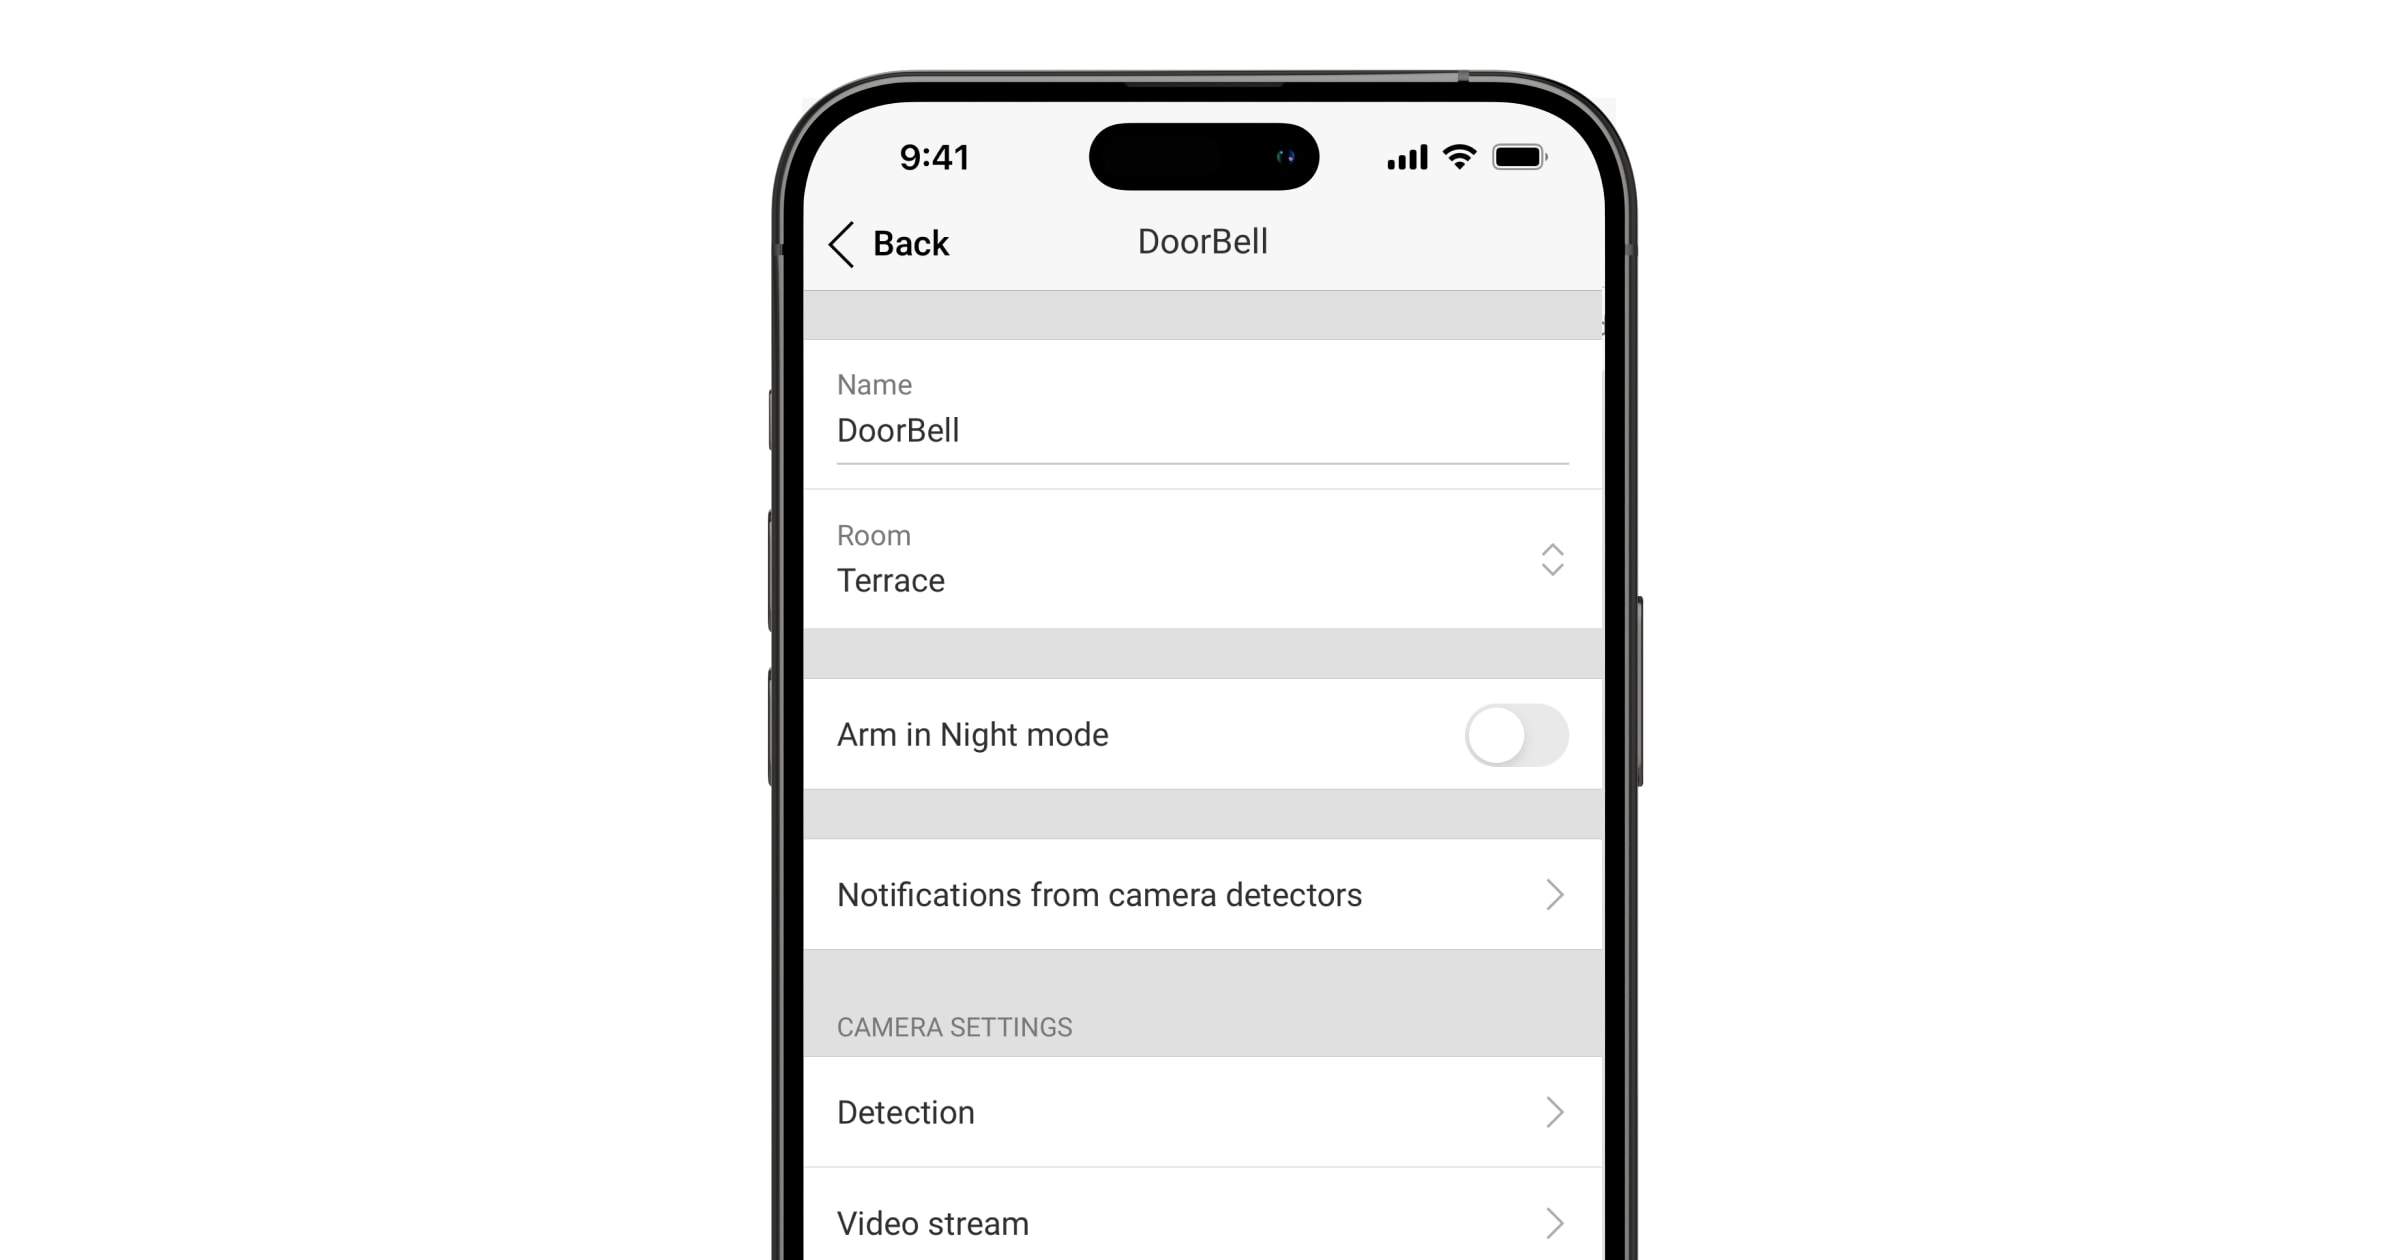
To change the camera settings in the Ajax app:
Open the Devices tab.
Select BulletCam (or NVR → Cameras).
Go to Settings.
Set the necessary parameters.
Tap Back to save.
(The following is a detailed list of settings: Name, Room, Night Mode, Recording Modes, Detector Alerts, Video Stream Settings, Image Quality Settings, Audio, Privacy Zones, Firmware Updates, Connection, Memory Card, Monitoring, Service, etc.)
Indications
A green LED indicator is located on the cable connector.
| Event | Indications | Note |
|---|---|---|
| The camera is powered. | The green light is on. |
Errors
If a BulletCam detects an error, an error counter appears on the device icon in the Ajax app. All errors are visible in the camera's Status section. Fields containing errors are highlighted in red.
Errors are displayed if:
The camera loses its connection to the server;
There is an error with the storage device (press the camera's reset button or format the storage device in the settings);
The storage device needs to be formatted.
Maintenance
Check the camera's operation regularly. If you notice a decline in image quality, blurriness, or darkening, inspect the camera. Clean the housing to remove dust, cobwebs, and other debris. Use soft, dry wipes designed for cleaning electronics.
Do not use substances containing alcohol, acetone, gasoline, or other harsh solvents. Clean the lens carefully—scratches can result in poor image quality and damage to the camera.
Technical Specifications
BulletCam (5 MP/2.8 mm)
BulletCam (5 MP/4 mm)
BulletCam (8 MP/2.8 mm)
BulletCam (8 MP/4 mm)
Compliance with Standards
Warranty
The product warranty for Ajax Systems Manufacturing, Ltd. is valid for 2 years from the date of purchase.
If you encounter any issues with the device's operation, please contact Ajax technical support first. In most cases, issues can be resolved remotely.