


Description
NVR - Network Video Recorder
NVR is a network video recorder for home and office video surveillance. Ajax cameras and third party IP cameras can be connected to the device.
The user can view live and archived video in Ajax applications. The recorder saves the received video data on a hard disk (not included) with appropriate settings.
If no hard disk is installed, the NVR only serves to integrate third party IP cameras into the Ajax system.
⚡ Important: Only use HDDs with a power consumption of up to 7 W.
The NVR requires an internet connection to connect to the Ajax Cloud. The device connects to the network with an Ethernet cable.
Available versions
-
NVR (8-ch)
-
NVR (16-ch)
-
NVR DC (8-ch)
-
NVR DC (16-ch)
Main features
-
Compatible with Ajax cameras and third party IP cameras.
-
Video alarm verification.
-
Archive video viewing and downloading in the app.
-
Support for HD drives up to 16 TB (not included).
-
Secure connection to Ajax Cloud via Ethernet.
-
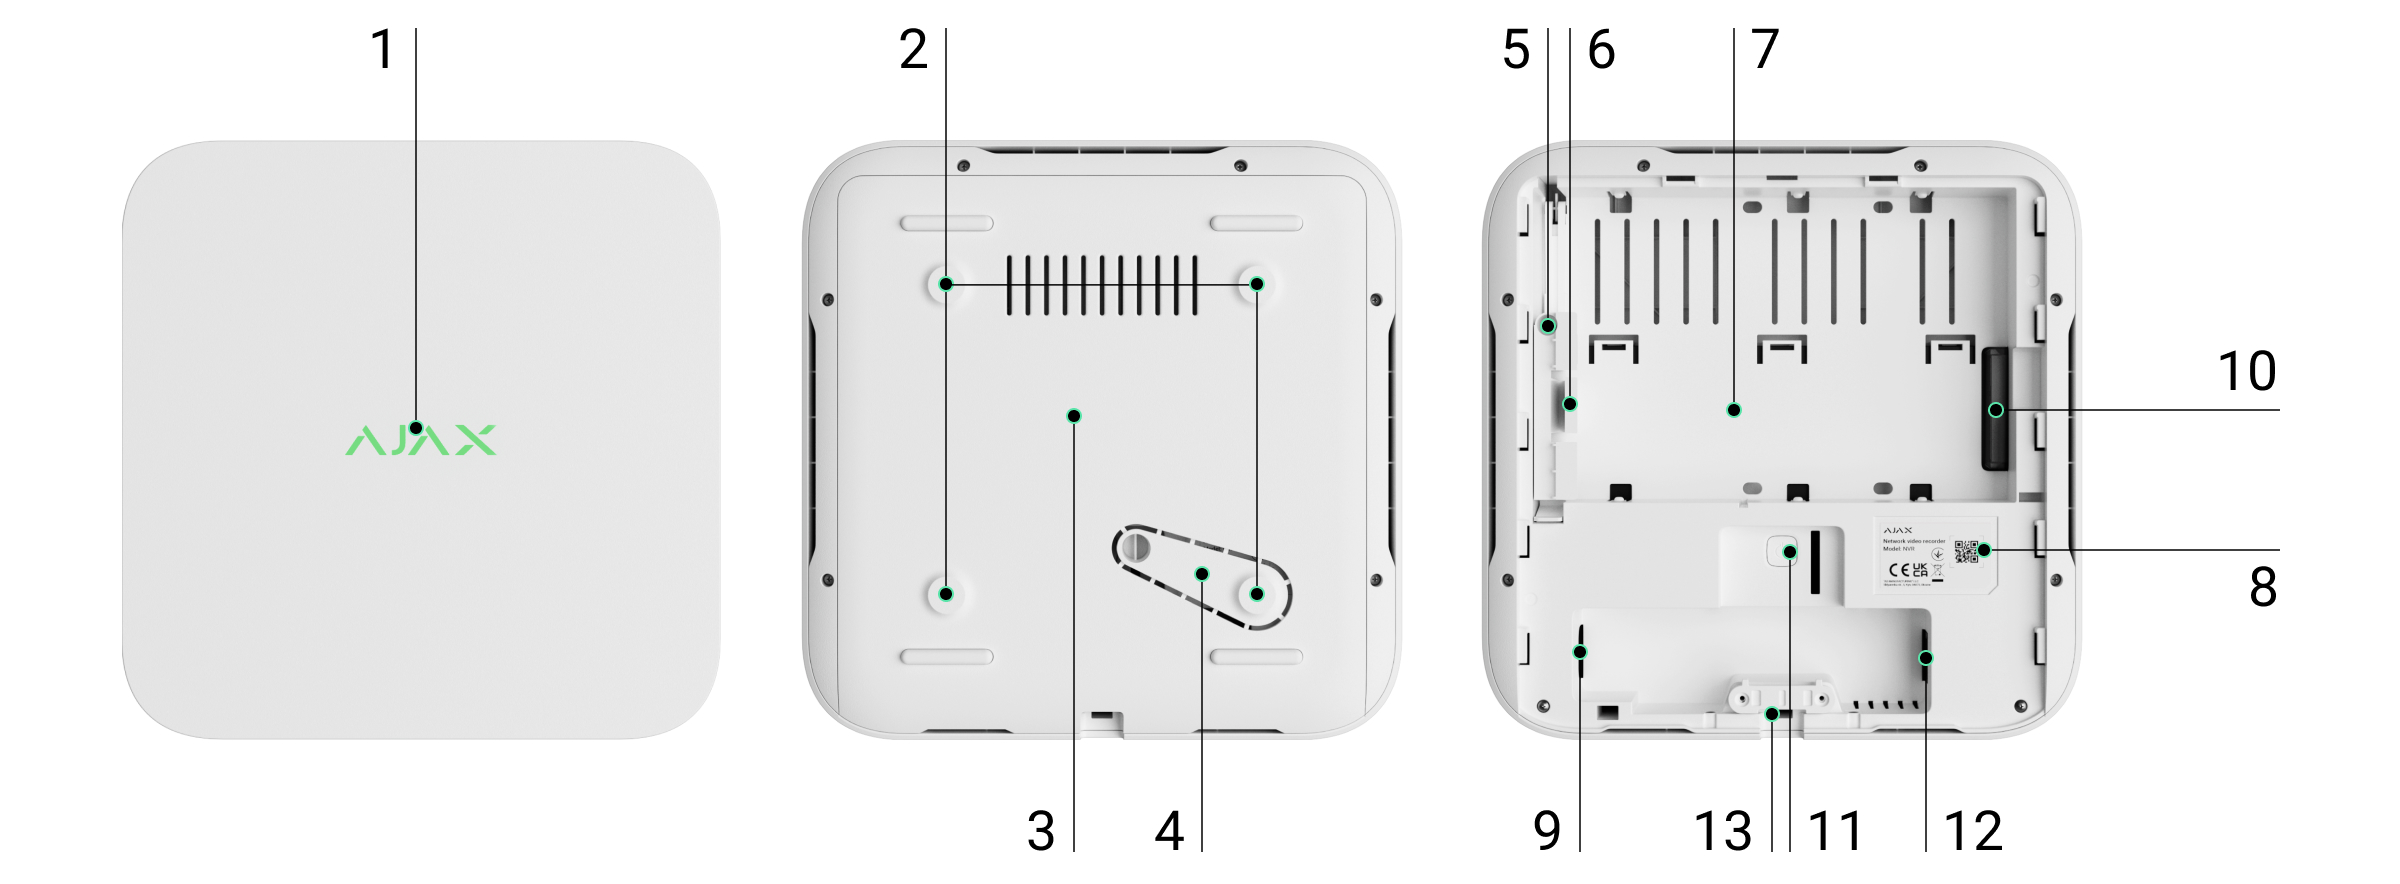
Functional elements
-
Logo with LED indicator - shows the status of the device.
-
Mounting holes - for securing the SmartBracket panel to a surface.
-
SmartBracket mounting panel - for easy and secure installation.
-
Perforated part on the mounting panel - do not break off! It provides a tamper that reacts to attempts to disconnect the device from the surface.
-
Hole for HDD lock screw - for secure HDD fixation.
-
HDD lock.
-
HDD mounting space - supports HDD up to 16 TB.
-
QR code with device ID - required to connect the NVR to the Ajax system.
-
Power connector.
-
HDD connector.
-
Parameter reset button.
-
Ethernet connector - for network connection.
-
Cable lock - for secure cable fixing.
Operating principle
The NVR is a video recorder designed to connect third party IP cameras (with ONVIF and RTSP protocols) and Ajax cameras.
-
Supports hard disk installation up to 16 TB (not included).
-
Can also operate without HDD, for integration with cameras only.
-
Users can use the Video Archive Calculator to calculate the required storage capacity and recording duration.
NVR capabilities:
-
Add and configure IP cameras (resolution, brightness, contrast, etc.).
-
View video in real time with the ability to zoom in.
-
View and export archive video by chronology or calendar (if HDD attached).
-
Choose the type of motion detection: in the camera or in the NVR itself.
-
Configure motion detection on the NVR: zones, sensitivity.
-
Use the Video Wall, which combines the images of all connected cameras.
-
Create video scenarios that send a short video to the Ajax app when the detector is activated.
⚡ From firmware version 2.244, all videos downloaded from the NVR have an Ajax digital signature to authenticate them. Use the Ajax Media Player application for verification.
Integration with VMS
The NVR can be connected to third party video management systems(Milestone, Genetec, Axxon, Digifort) via ONVIF protocol (from firmware version 2.289 ).
Configuration is possible via:
-
Ajax Security System (v3.25+),
-
Ajax PRO: Tool for Engineers (v2.25+),
-
Ajax PRO Desktop (v4.20+),
-
Ajax Desktop (v4.21+).
-
-
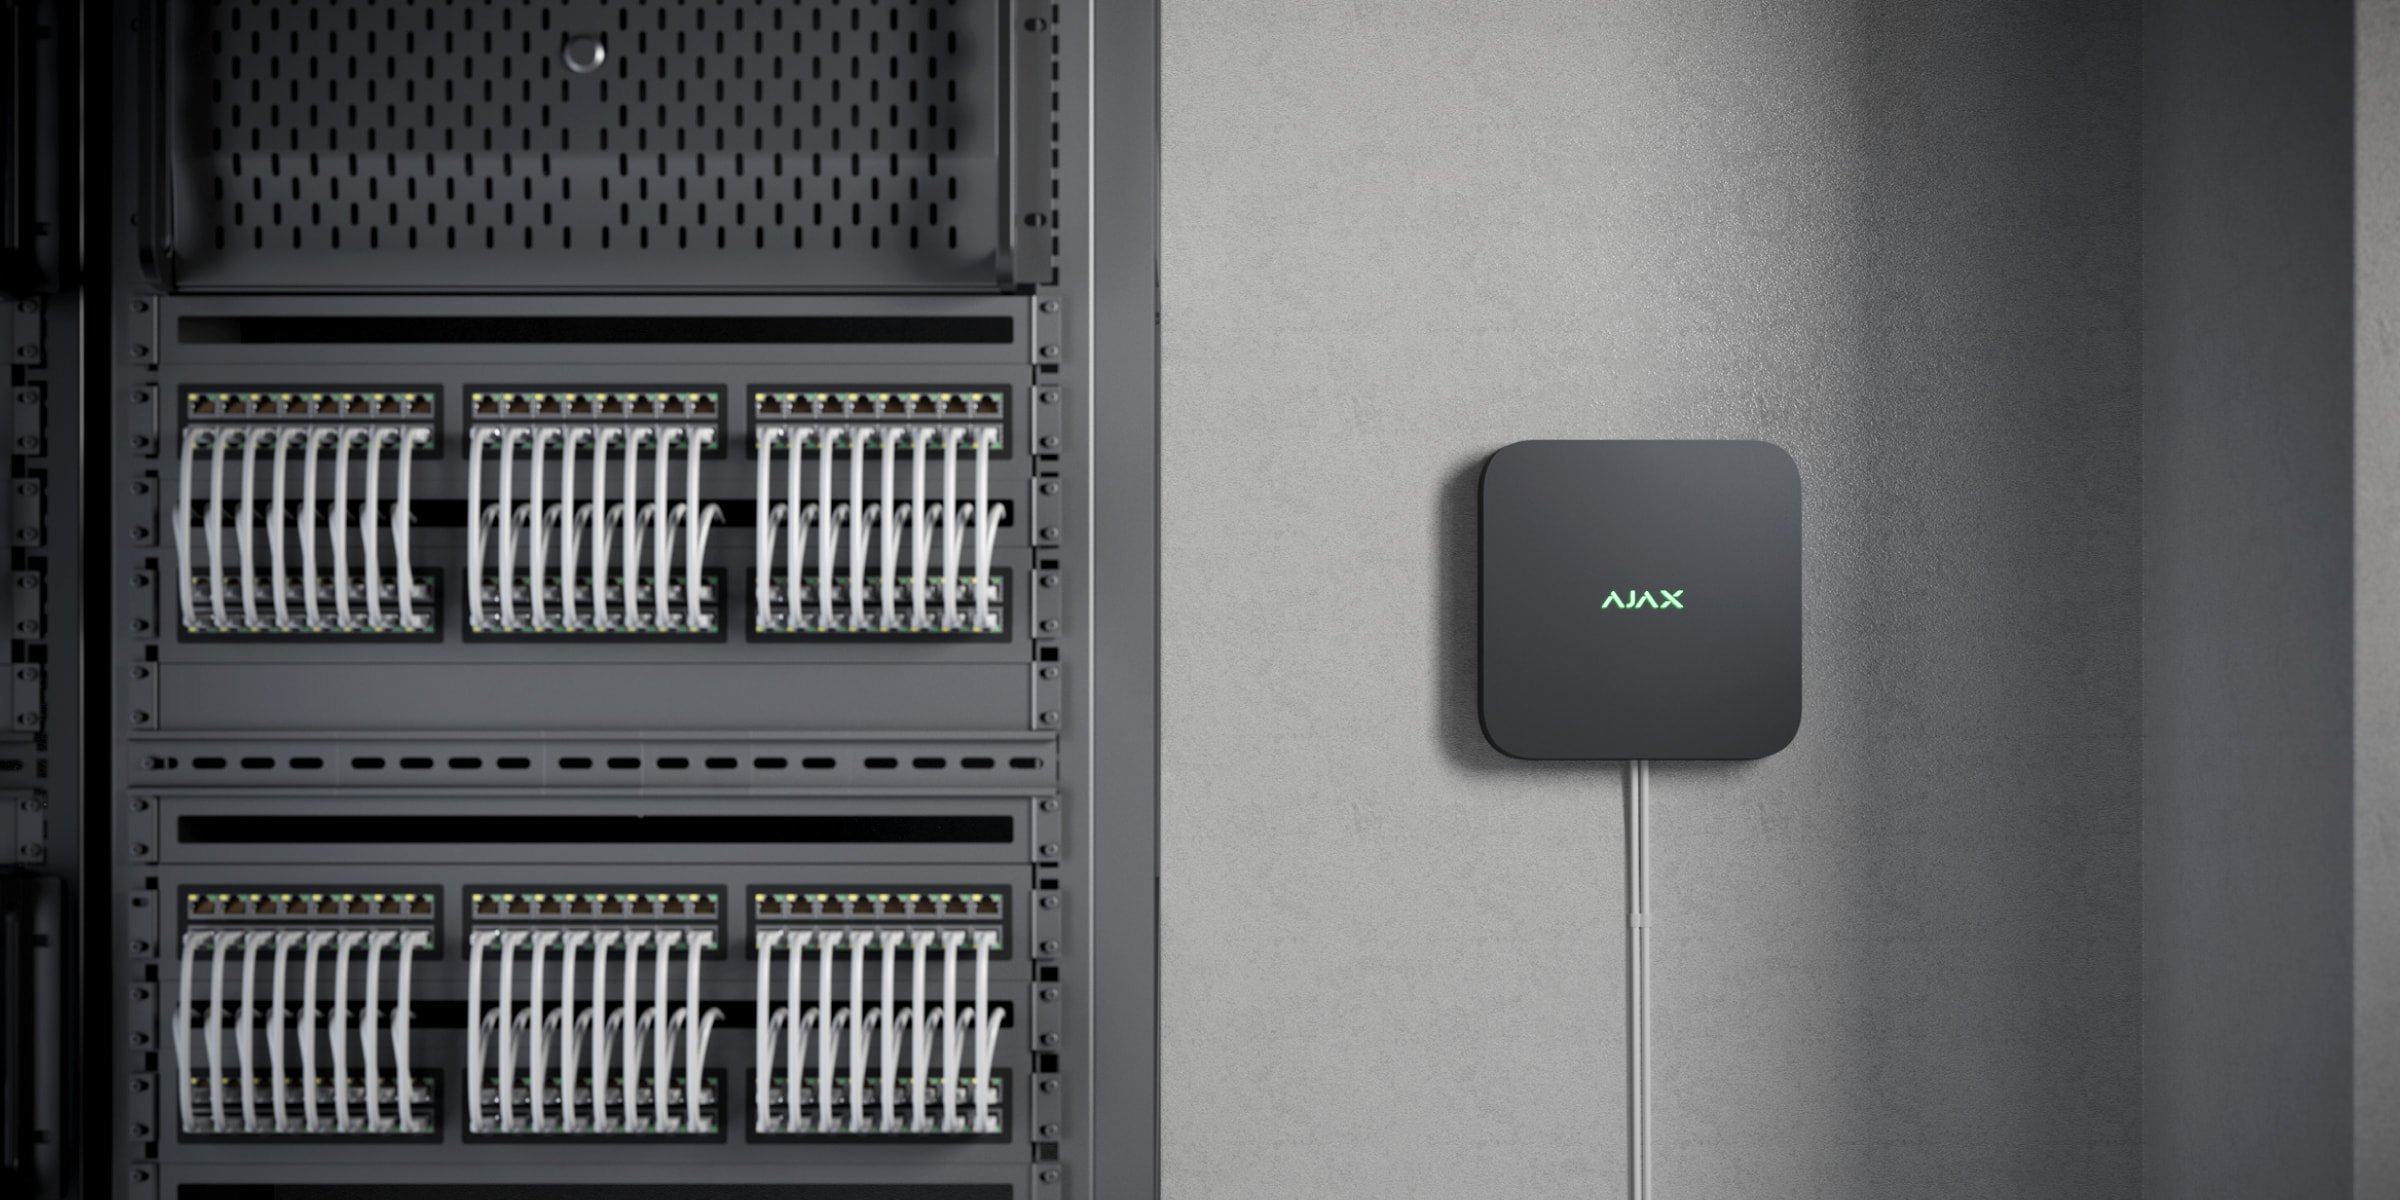
NVR installation site selection
It is recommended to choose an installation location where the NVR is hidden from prying eyes, e.g. in the pantry. This will help to reduce the risk of sabotage. Note that the device is intended for indoor installation only.
The device is manufactured in a compact housing with passive cooling. If the NVR is installed in an insufficiently ventilated room, the operating temperature of the memory disk may exceed the permissible limits. Select a solid, level horizontal or vertical surface for installation and do not cover the device with other objects.
Follow the placement recommendations when designing the Ajax system for the site. The safety system must be designed and installed by professionals. A list of authorised Ajax partners is available here.
Where NVRs must not be installed
Outdoors. This may cause damage to the NVR.
In rooms with temperature and humidity values that do not meet the operating parameters.
Installation
Installation of the NVR:
Remove the SmartBracket from the DVR by pulling down on the rear panel.
Attach the SmartBracket to a solid, flat surface with the supplied screws. Use at least two fixing points. Be sure to secure the case in the perforated area so that the tamper responds to disassembly attempts.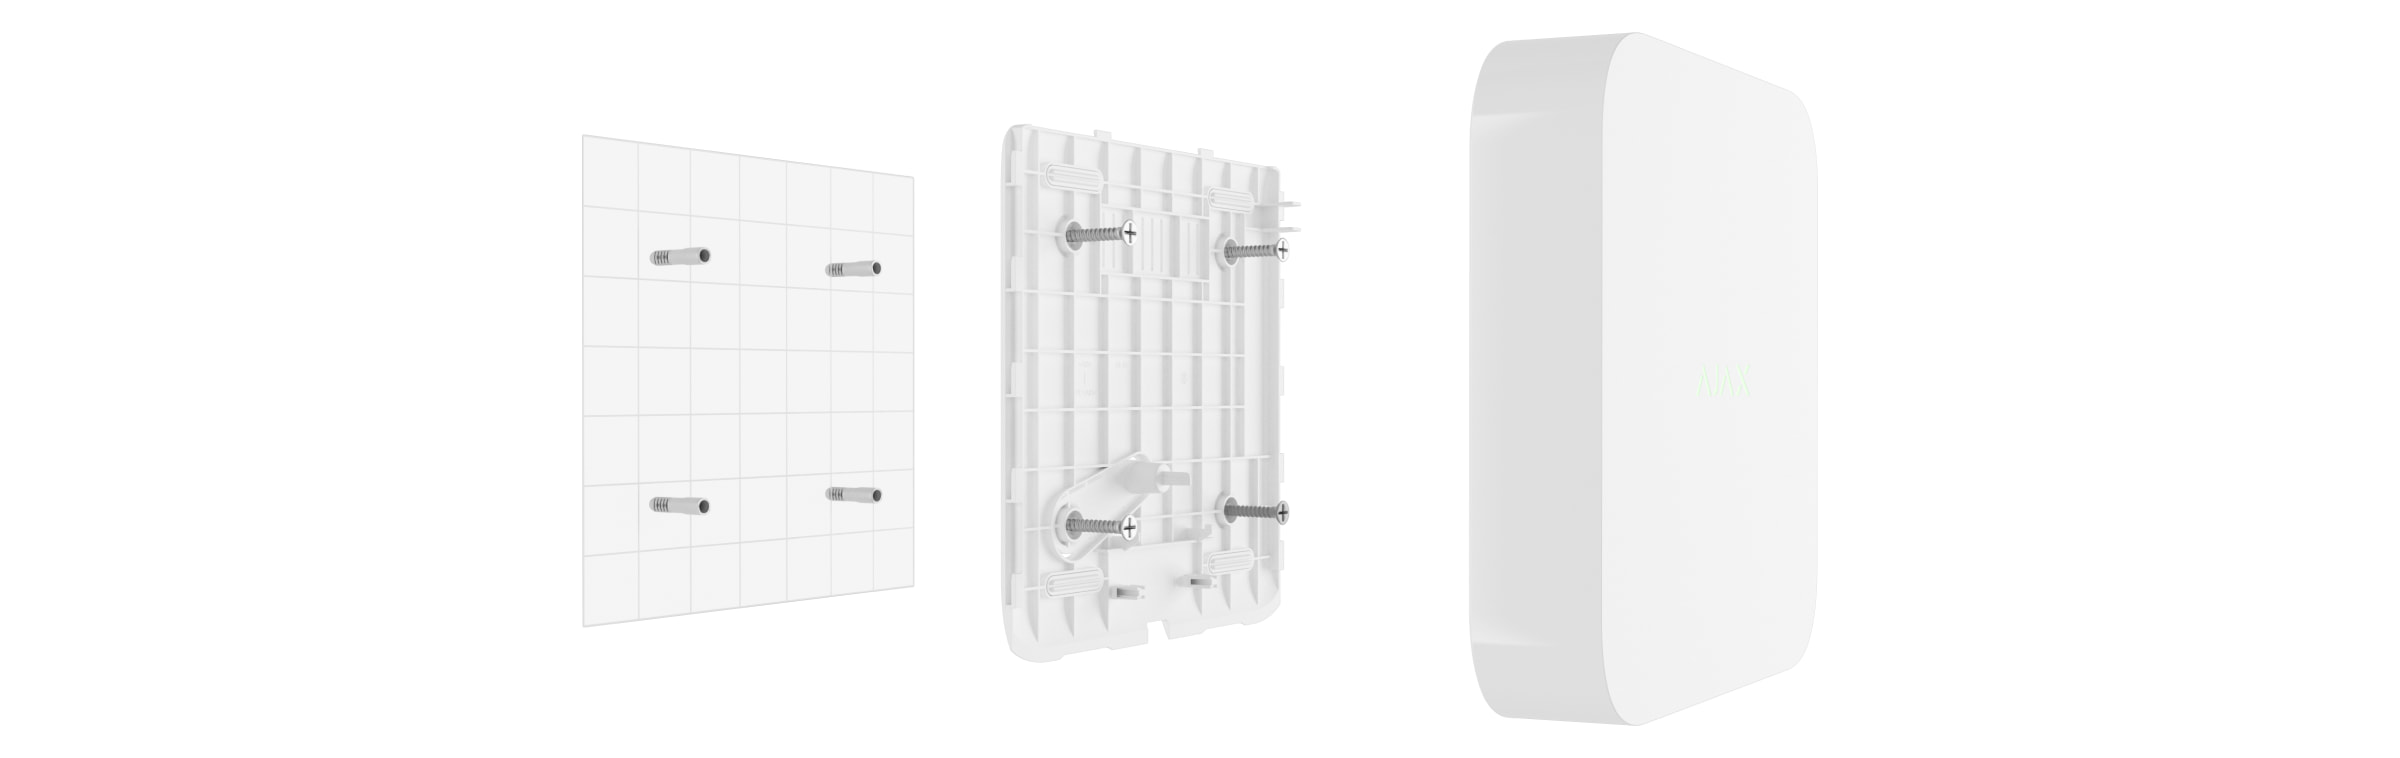
-
Lift the hard disk latch by pressing the button.
When replacing the hard disk, wait 10 seconds after disconnecting the device from the power source. The hard disk contains fast-rotating disks. Sudden movements or shocks can damage the mechanism, causing physical damage and loss of data.
Do not move or rotate the NVR until the hard disk has stopped rotating.
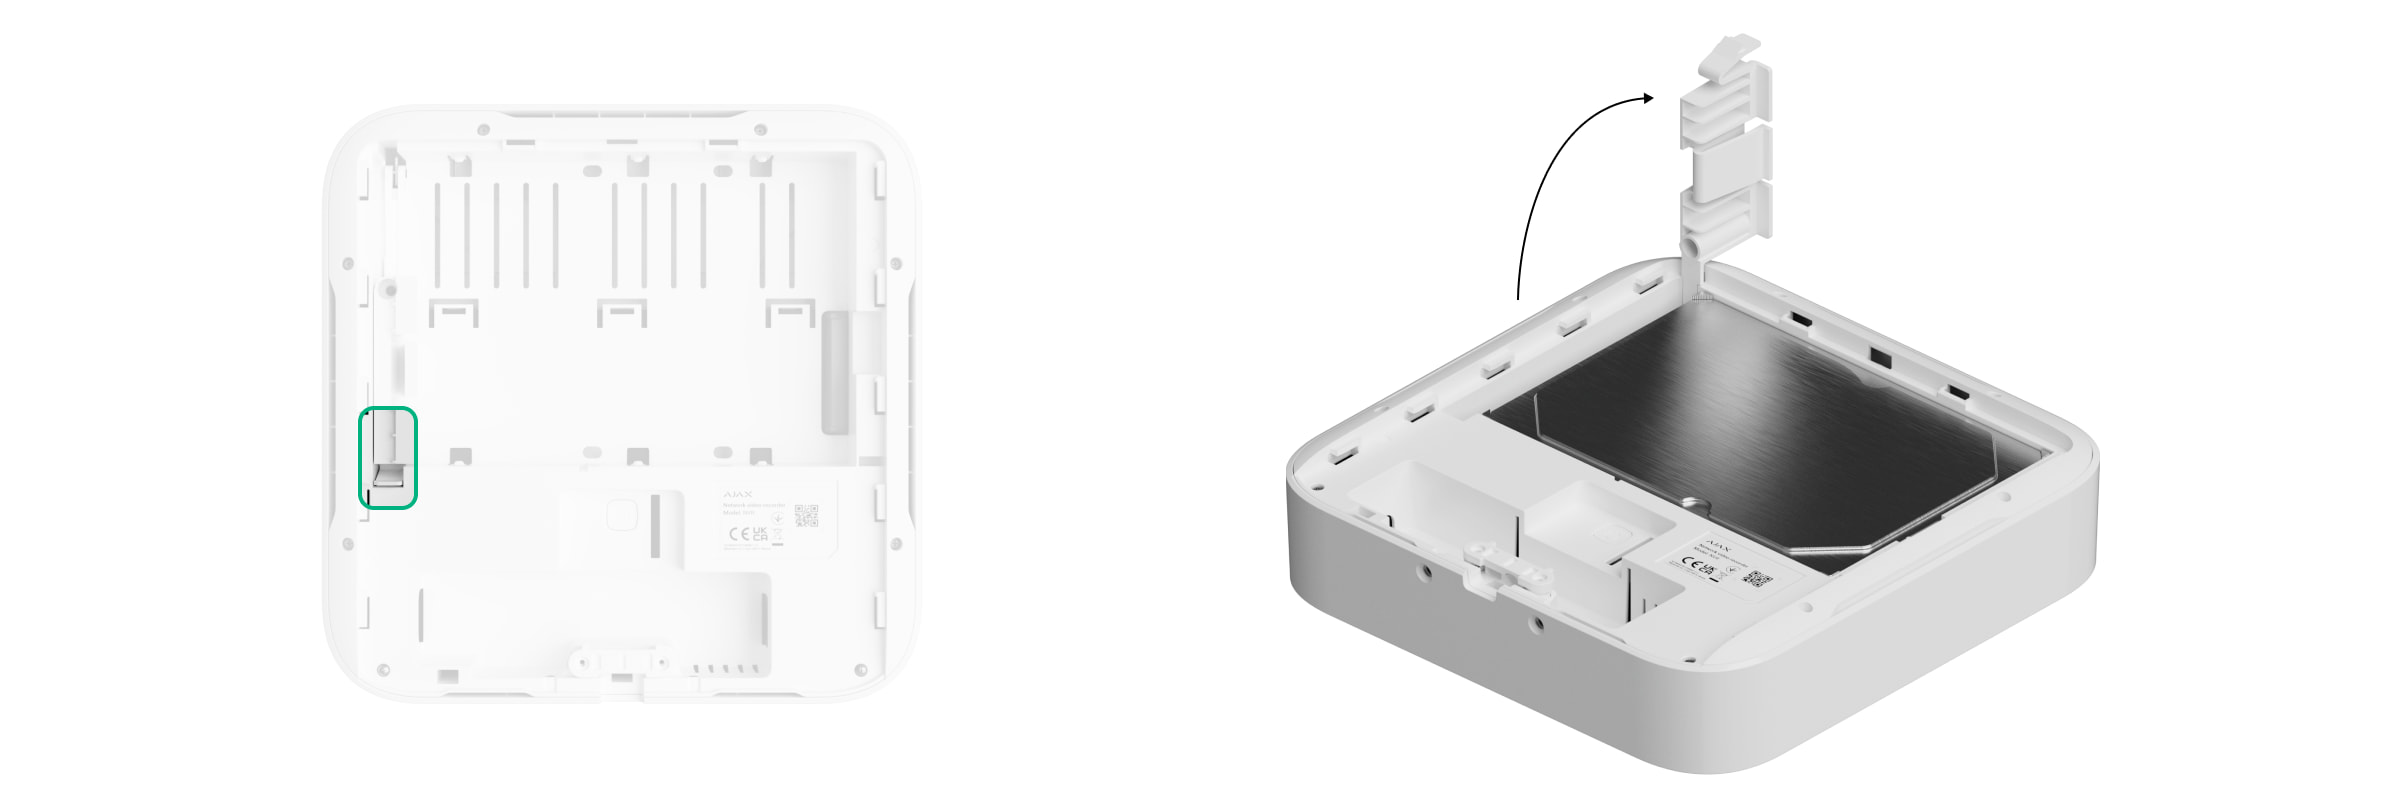
- Install the hard disk in the NVR enclosure so that the connectors line up.

- Lower the hard disk latch.
- Secure the hard disk in the NVR enclosure with the supplied screw using the fixing point provided.
-

-
Connect the external power supply and Ethernet connection.
Connect the device to the system.
Insert the video recorder into the SmartBracket holder.The LED indicator turns yellow and turns green when connected to the Internet. If the connection to the Ajax Cloud server fails, the logo turns red.
Connecting to the system
Before connecting the device
Install the Ajax app.
Log in to your account or create a new one.
Select a room or create a new one.
Add at least one virtual room.
Make sure the room is disarmed.Only a PRO or room administrator with system configuration rights can add a device to a room.
Account types and rights
Adding a room
Open the Ajax application. Select the room you want to add the NVR to.
Go to the Devices tab and tap Add device.
Scan the QR code or enter it manually. The QR code is located on the back of the case under the SmartBracket mounting panel and on the packaging.
Give the device a name.
Select a virtual room.
Tap Add.
Make sure the NVR is powered on and has internet access. The LED logo should be green.
Tap Add.The added device will appear in the device list of the Ajax app.
The NVR only works with one room. To connect a NVR to a new room, it must be manually deleted from the previous room in the Ajax app.
Adding an IP camera to the NVR
The video device calculator can be used to calculate how many cameras and NVRs can be added to a room.
Adding an IP camera automatically:
Adding a third party IP camera manually:
Open the Ajax app. Select the room where the NVR is connected.
Go to the Devices tab.
Find the NVR in the list and tap Cameras.
Tap Add camera.
Wait until the network is scanned and the IP cameras connected to the local network are displayed.
Select a camera.
Enter the username and password (specified in the camera documentation) if the camera is a third party and tap Add.
If entered correctly, a video preview of the added camera will appear. In case of an error, check the correctness of the entered data and try again.
Make sure the video matches the connected camera. Tap Next.The IP camera connected to the DVR will appear in the list of NVR cameras in the Ajax app.
Restore to factory settings
To restore the NVR to factory settings:
Turn off the device by disconnecting the power supply.
Press and hold the reset button.
Turn on the NVR while continuing to hold the reset button and wait for the LED to turn purple. This takes about 50 seconds.After switching on the NVR with the reset button held down, the LED indicator will turn yellow for 20 s. Then it goes off for 30 s and turns purple. This means that the NVR has been restored to factory settings.
Release the reset button.
Icons
The icons indicate some statuses of the device. They can be viewed in the Ajax app:
Select a space in the Ajax app.
Go to the Devices tab.
Find the NVR in the list.States
States displays information about the device and its operating parameters. They can be found in the Ajax app:
Select a room in the Ajax app.
Go to the Devices tab.
Locate the NVR in the list.Settings
To change the settings of the NVR in the Ajax app:
Go to the Devices tab.
Select NVR in the list.
Go to Settings by tapping the gear icon.
Set the required parameters.
Tap Back to save the settings.Indication
Event - Indication - Note
The NVR starts up when connected to power - Lights yellow. - If the NVR is connected to the Ajax Cloud, the indication changes to green.
The NVR is powered on and connected to the Internet. - Lights green.
The NVR is not connected to the Internet or is not connected to the Ajax Cloud server. - Lights red.NVR does not have a hard drive installed.
Hard drive is installed but not working properly (e.g. formatting errors or needs formatting). - Flashes green or red every second, depending on the connection status to the Ajax Cloud server. The indication will continue until one of the following conditions occurs:
Hard disk is formatted/installed.
All cameras connected to the NVR are configured not to write to the NVR hard disk.Maintenance
The device is maintenance free.
Technical specifications
Technical specifications NVR (8-ch)
Technical specifications NVR (16-ch)
Technical specifications NVR DC (8-ch)
Technical specifications NVR DC (16-ch)Compliance with standards
Warranty
Ajax Systems Manufacturing Limited Liability Company's product warranty is valid for 2 years after purchase.
If the device fails to operate properly, please contact Ajax Technical Support first. In most cases, technical problems can be solved remotely.