


Description
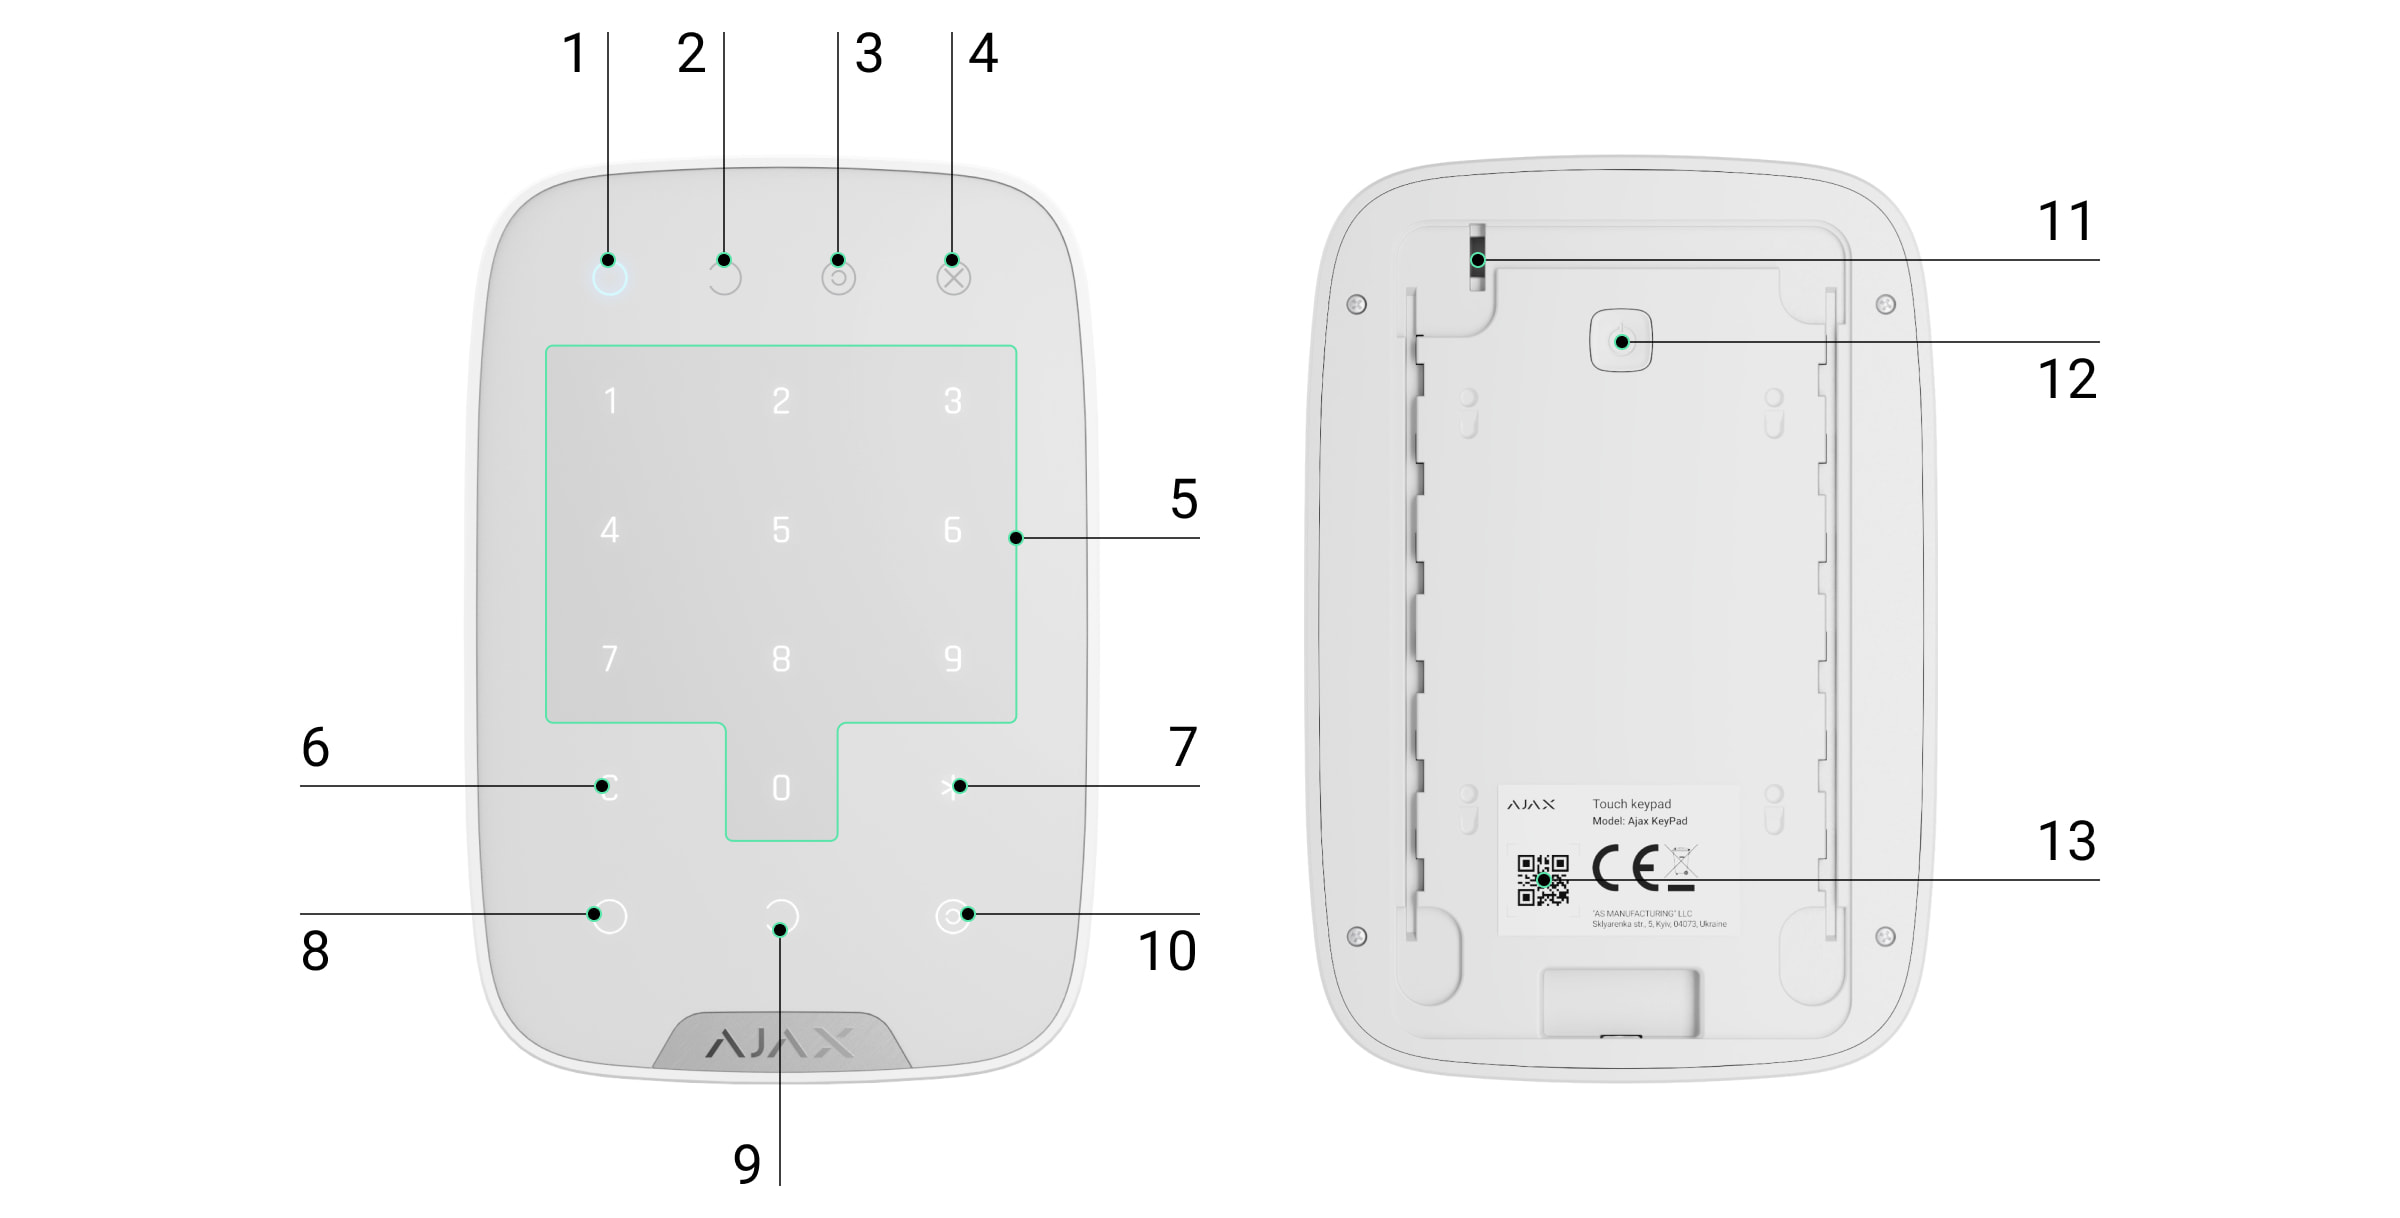
Functional elements
-
Arming mode indicator
Disarm mode indicator
Night mode indicator
Fault indicator
Numeric button block
Erase button
Function button
Arm button
Disarm button
Night mode button
Tamper button
On/Off button
QR codeTo remove the SmartBracket panel, slide it downwards (the perforated part is needed to trigger the tamper when trying to pull the device off the surface).
Operating principle
The KeyPad is a touch-sensitive keyboard for controlling the Ajax system. It controls the security modes of the whole facility or individual groups and allows activation of the Night mode. The keypad supports the "silent alarm" function - the user can inform the security company of a forced disarm without triggering siren sounds or Ajax app notifications.
The security mode of the KeyPad can be controlled using codes. The keypad must be activated by tapping before entering a code. During activation, the key backlight turns on and the keypad beeps.
KeyPad supports the following code types:
KeyPad code - a generic code that is set for the keypad. With this, all events are sent to Ajax apps on behalf of the keyboard.
User code - a personal code that is set for users who are connected to the hub. With this, all events are sent to apps on behalf of the user.
KeyPad access code - set for a person who is not registered on the system. With this, events are sent to apps with the name attached to this code.
RRU code - access code for Rapid Response Units after an alarm, valid for a certain period of time.The number of personal, access and RRU codes depends on the hub model.
Access codes are not supported in the Hub (2G) Jeweller control panel.
The brightness and volume of the keypad backlight is controlled in its settings. When the batteries are low, the backlight is switched on at the minimum level regardless of the settings.
If the keyboard is not used for 4 seconds, it reduces the brightness of the backlight and after 8 seconds switches to power-saving mode, turning off the screen. When you switch to this mode, the commands you enter are reset.
The KeyPad supports 4-6 digit codes. Code entry must be confirmed by pressing one of the buttons: (Arm), (Disarm), (Night mode). Erroneously entered symbols can be deleted with the (Delete) button.
The KeyPad also supports mode control without code input if the "Disarm without code" function is activated in the settings. It is deactivated by default.
Function button
The KeyPad has a Function button that works in 3 modes:
Off - the button does not function.
Alarm - when pressed, the system sends an alarm to the security company's station, users and activates the sirens connected to the system.
Disabling Common Fire Detector Alarms - when pressed, the Ajax fire detector sirens are disabled (if the Interconnected FireProtect Alarms function is enabled).Forced code
Forced code allows simulated disarming. Unlike the panic button, entering this code does not put the user at risk - the system indicates that it has been disarmed, but the security company receives an alarm.
The following forced codes are available:
KeyPad code - a generic duress code.
User duress code - a personal code set by each user.
KeyPad access code - set for a person who is not registered in the system.Automatic lock on unauthorised access
If an incorrect code is entered three times within 1 minute, the keypad is locked for the time specified in the settings. During this time, the hub ignores all codes and informs users and CMS of any attempt to guess the code.
The keypad is automatically unlocked after the set time. However, a user or PRO with administrator rights can unlock the keyboard in the Ajax app.
Two-stage arming
The KeyPad participates in two stages of arming. When the function is activated, the system will only be armed after re-arming with SpaceControl or after the second stage detector is restored (e.g. by closing the door with DoorProtect).
Jeweller data transmission protocol
The keypad uses the Jeweller radio protocol for the transmission of events and alarms. This is a two-way wireless data transmission protocol with encryption, authentication and regular polling of devices every 12 to 300 seconds.
Transmission of events to the guard station
The Ajax system can send alarms to PRO Desktop and CMS using SurGard (Contact ID), SIA (DC-09), ADEMCO 685 and other protocols.
KeyPad can send the following events:
Forced code entered.
Panic button pressed (if Function button is in panic mode).
Keypad locked due to failed attempts.
Tamper alarm/recovery.
Hub connection lost/recovery.
Keypad deactivation/activation.
Failed arming attempt (with integrity check enabled).Each Ajax device is addressable, so the device type, security group, assigned name and space are also sent.
Indications

When the KeyPad is touched, it turns on, illuminating the keypad and indicating the security mode: Armed, Disarmed or Night mode. The current security mode is always displayed, regardless of which control device (remote or app) was used to change the mode.
Event - Indication
Fault indicator X flashes - indicates loss of communication with the hub or keypad cover opening. The exact cause of the failure can be checked in the Ajax Security System app.
KeyPad button press - short beep, system current armed state LED flashes once.
System is armed - short beep, Armed/Naked LED illuminates.
System is disarmed - two short beeps, Disarmed LED illuminates.
Incorrect code - long beep, keypad LED flashes 3 times.
Error during arming (e.g. detector lost) - long beep, Armed mode indicator flashes 3 times.
No communication with hub - long beep, Error indicator lights up.
KeyPad locked after 3 failed attempts to enter code - long beep, Security mode indicators flash simultaneously.
Low battery - after arming/disarming the Error indicator flashes steadily. Keypad is locked while indicator is flashing. When the KeyPad is activated with low batteries, it emits a long beep, the Fault indicator lights steadily and then goes out.
Fault sound notifications
If a device is offline or has a low battery, the KeyPad can notify users with audible alarms. The keypad's LED X will flash. Notifications appear in the event ribbon, SMS or push notifications.
Use the Ajax PRO and PRO Desktop apps to turn on audible notifications for faults:
-
Open Devices, select the hub and open its settings.
-
Click Service → Sounds and Alerts.
-
Activate the options If battery of any device is low and If any device is offline.
-
Click Back to save.
Available for all hubs (except Hub model) with OS Malevich 2.15 or later. KeyPad supports this feature with software version 5.57.1.1 or later.
Event - Indication - Note
If a device is offline - two short beeps, Error indicator flashes 2 times. The beep repeats once per minute until all devices are online. Users can delay the beep for 12 hours.
If the KeyPad is offline - two short beeps, the Fault indicator flashes 2 times. The beep repeats once per minute until the keypad is online. You cannot snooze the beep.
If a device is low on battery - three short beeps, Fault indicator flashes 3 times. The signal repeats once per minute until the battery is restored or the device is removed. Users can delay the alarm for up to 4 hours.
Audible fault notifications appear after keypad indication. If multiple failures occur in the system, the KeyPad first informs about the loss of communication between the device and the hub.
Connection
Hub and devices with different radio frequencies are not compatible. The radio frequency range may vary regionally. It is recommended to purchase and use Ajax devices in the same region.
Before connecting
Switch on the hub and check the internet connection (logo lights white or green).
Install the Ajax app, create an account, connect the hub and at least one room.
Make sure the hub is not armed and not updating (check in the app).
Only users with administrator rights can add a device.
How to connect a KeyPad to a hub
Open the Ajax app, select Add Device.
Name the device, scan or manually enter the QR code (located on the case and packaging) and select the room.
Press Add - the countdown will start.
Switch on the KeyPad by holding the power button for 3 seconds - the keyboard backlight will flash once.
To connect, the KeyPad must be within range of the hub wireless network. A connection request is sent shortly after switch-on.
If the connection fails, turn off the KeyPad for 5 seconds and try again.
The connected device will appear in the app list. The frequency of status updates depends on the detector ping interval set in the hub settings (default 36 seconds).
KeyPad has no preset codes. All necessary codes must be set before use: keypad code (general), personal user codes and forced codes (general and personal).
Location selection
The location of the device depends on the distance to the hub and the obstacles that hinder the radio signal transmission: walls, floors, large objects in the room.
The device is intended for indoor use only.
Do not use the KeyPad in the following locations:
Close to radio transmission equipment, including those operating on 2G/3G/4G mobile networks, Wi-Fi routers, transmitters, radio stations, and Ajax hubs (using GSM networks).
Close to electrical wiring.
Close to metal objects and mirrors that may weaken or obscure the radio signal.
Outdoors.
In rooms with temperatures and humidity outside the acceptable range.
Closer than 1 m to the hub.
Check the Jeweller signal strength at the installation site
During the test, the signal strength is displayed in the app and on the keypad with the security mode indicators (Armed, Disarmed, Night mode) and the fault indicator X.
If the signal is low (one bar), stable operation of the device is not guaranteed. To improve the signal, move the device: even a 20 cm movement can significantly improve signal reception.
If the signal is still low or unstable after moving, use a radio signal booster.
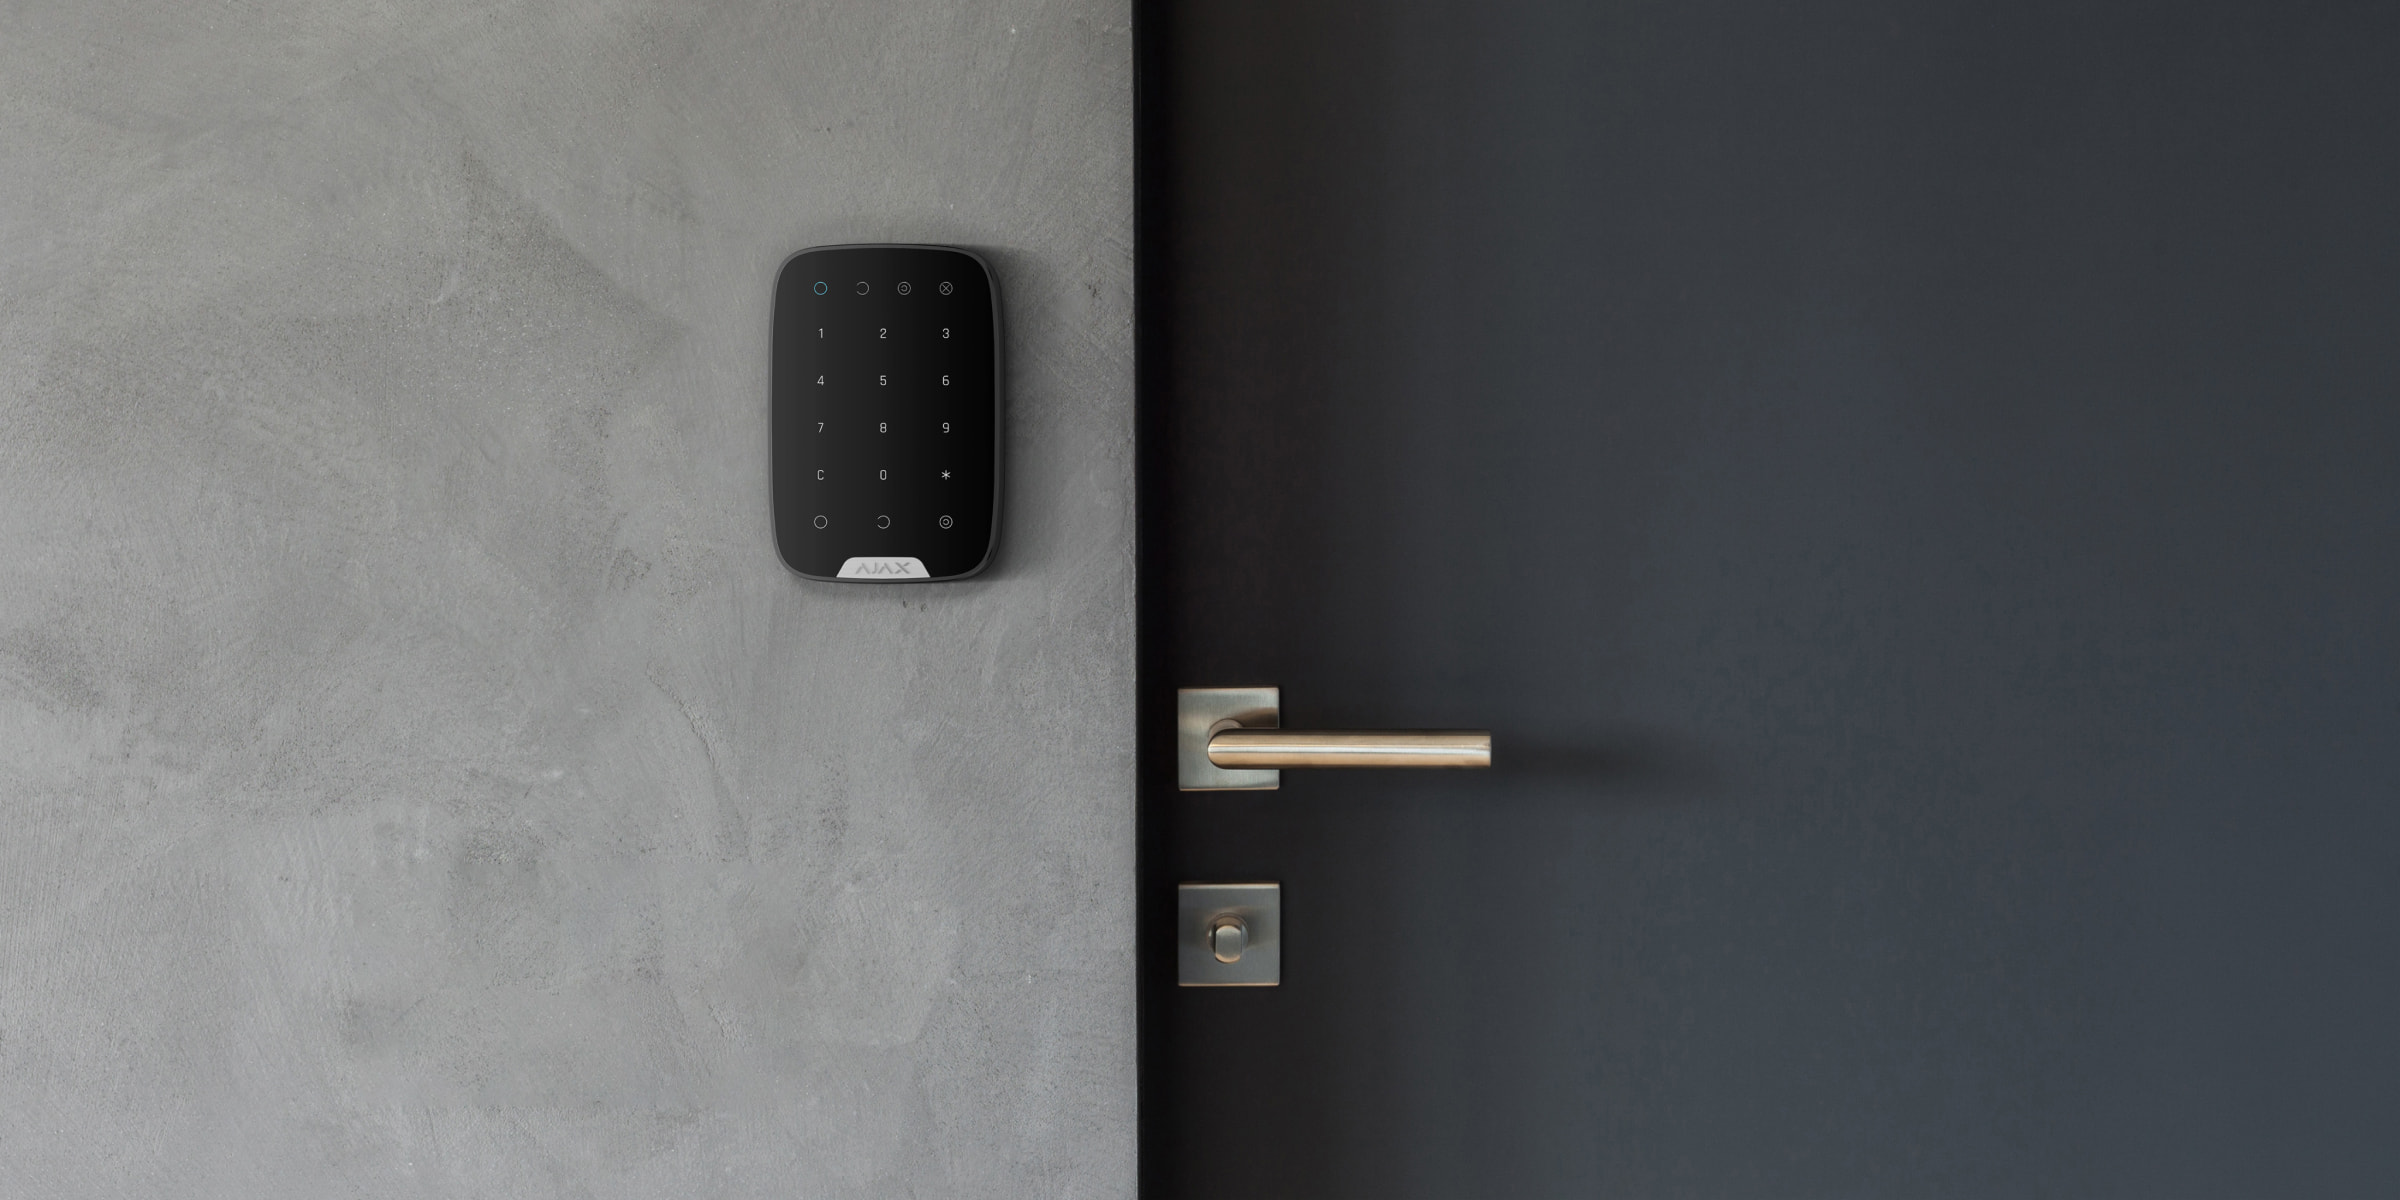
The KeyPad is designed for use when it is attached to a vertical surface. When used hand-held, stable sensor keypad performance is not guaranteed.
Status
Devices → KeyPad
| Parameter | Meaning |
|---|---|
| Data import | Displays an error when transferring data to a new hub: Failed - the device has not been transferred to the new hub. |
| Temperature | Device temperature. Measured in the processor and changes incrementally. Tolerable error between the temperature displayed in the app and the room temperature is 2 °C. The value is updated if the temperature changes by at least 2 °C. A scenario can be set to control automation by temperature. |
| Jeweller signal strength | Signal strength between hub and KeyPad. |
| Connection | Connection status between hub and KeyPad. |
| Transmitter power | Shows the selected transmitter power. The parameter is displayed when Max or Attenuation is selected in the Signal attenuation test. |
| Battery Charging | OK or Battery low. |
| Cap | Tamper mode, which reacts to case disconnection or damage. |
| ReX | Shows the status of the radio signal amplifier usage. |
| Permanent deactivation | Indicates the status of the device: active, fully deactivated or deactivated only for tamper messages. |
| Single deactivation | Shows the deactivation status of the device until the first disarm: active, fully deactivated or only tamper messages deactivated. |
| Software | KeyPad software version. |
| Device ID | Device identifier. |
Settings
Devices → KeyPad → Settings
| Setting | Meaning |
|---|---|
| Name | Device name, can be edited. |
| Room | Selection of the virtual room to which the device is assigned. |
| Group management | Selection of the security group that the device controls. All or only one can be selected. Available when Group mode is activated. |
| Access Settings | Verification method for arming/disarming: keypad codes only; user codes only; keypad and user codes. |
| Keypad Code | Setting the keypad code for arming/disarming. |
| Duress Code | Setting the duress code for silent alarm. |
| Function Button | Function Button Settings Off - disabled; Panic - alarm; Mute Interconnected Fire Detectors Alarm - silences the fire detectors alarm. |
| Accidental press protection | Available with OS Malevich 2.31 or later. If activated, the function button must be pressed twice to send an alarm. |
| Arming without Code | If activated, the system can be armed without a code. |
| Unauthorized Access Auto-lock | If activated, the keypad is locked after 3 incorrect attempts to enter a code within 1 minute. |
| Auto-lock Time, min | Lock period after incorrect attempts. |
| Brightness | Brightness of the keypad backlight. |
| Buttons Volume | Volume of the beep. |
| Alert with a siren if panic button is pressed | If activated, a siren sounds when the function button (Panic) is pressed. |
| Jeweller Signal Strength Test | Activates a signal strength test. |
| Signal Attenuation Test | Activates the signal attenuation test (available with software 3.50+). |
| Permanent Deactivation | Allows to deactivate the device without removing it from the system: No, Entirely, Lid only. |
| One-Time Deactivation | One-time deactivation status: No, Lid only, Entirely. |
| User Guide | Open the KeyPad User Guide. |
| Delete Device | Disconnects the device from the hub and deletes its settings. |